
 I wanted to get an early start on making Christmas decorations and presents. The first project I chose to do was a bird house. I saw several versions of birdhouses at Hobby Lobby and thought they looked nice but, I thought I could do better. I wanted to get an early start on making Christmas decorations and presents. The first project I chose to do was a bird house. I saw several versions of birdhouses at Hobby Lobby and thought they looked nice but, I thought I could do better.
 I found a nice birdhouse at Hobby Lobby and promptly bought it. I had all the paints at home, but I did not have the greenery (I used floral picks of the season) I wanted to use or the roofing material and of course the snow and icicles.
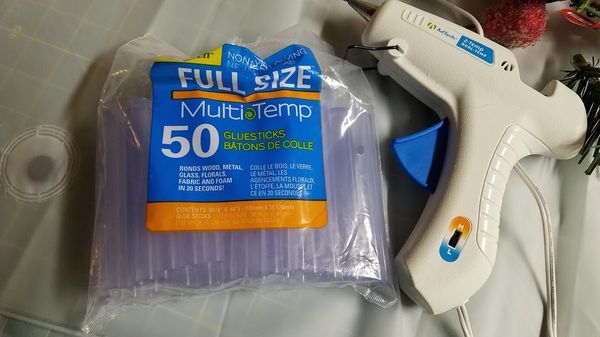
Here is a list of materials that I used to create this birdhouse. Of course, the birdhouse also. (not shown)
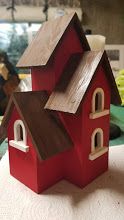
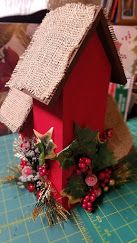
 I used acrylic paints to paint the birdhouse. First thing I started with painting the house red with white trim. (#1) I went with a brown roof because I knew I was going to eventually cover it over with light brown burlap. (#2)
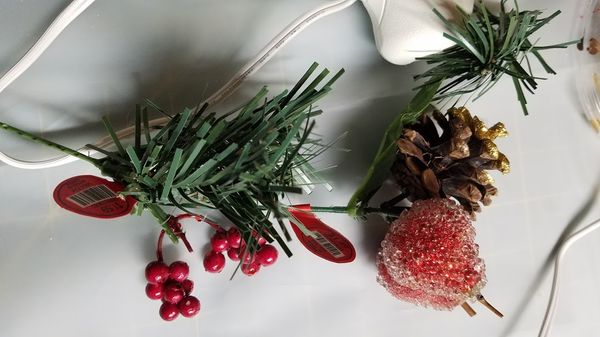
 Greenery picks, I cut the pieces that I wanted to use. I bought mine at Hobby Lobby, you can find them at most craft stores. They are Christmas themed greenery picks. I glued the parts I liked best to the bird house. (#3) In my tutorial I am not being extremely specific because you should have the creative ideas and you may sort of follow the directions.
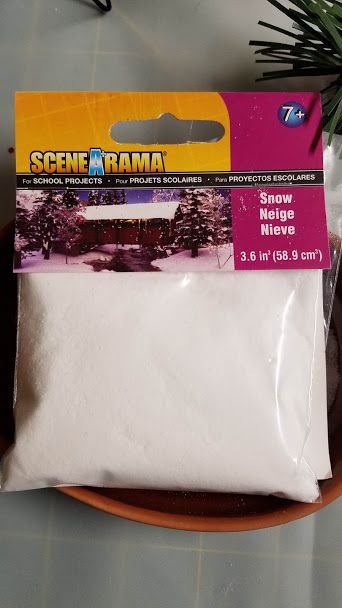
 I could not decide on what kind of snow to use on the house. There are several kinds of snow available to purchase. I had no idea.
I finally settled on a very fine sample of snow that I found at a Hobby store that sells trains and all the makings to build a train table and the materials to build houses and roads and trees and bushes etc.
 To apply the snow, I used Elmer’s spray adhesive. I sprayed the roof I wanted snow on and quickly sprinkled the snow on the adhesive. When you are using this spray adhesive you must do so in a well-ventilated room or outside. The odor is very strong. This adhesive also dries very quickly so sprinkle the snow quickly. If it is a little thick in some places and thin in others, that is ok. It adds to the charm of the bird house.
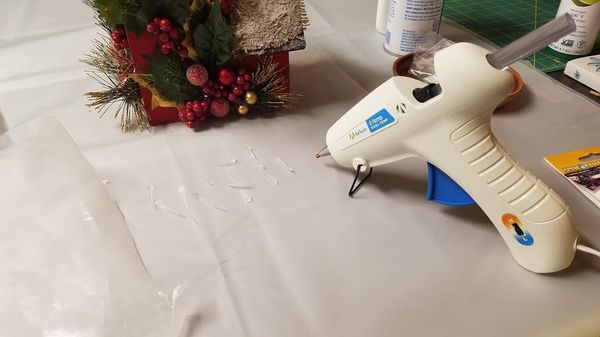
Next, to create the icicles on the house. To do this use a cool temp glue gun. You will need to lay out some wax paper and spray the wax paper with a little oil. I used a spray avocado oil. Wipe the wax paper and make sure it is spread evenly. This will keep the icicles from sticking to the wax paper. The cool temp glue gun will keep from melting the wax paper.
 I took a picture of icicles on my house as a reference to look at while I was attempting to make my own icicles.
 With your glue gun start making your icicles. Start at one end and make a tiny pile of glue then drag your glue out to create what looks like an icicle. All the while doing it, remember you don’t need a huge amount of glue to do this. Once you like how the icicle looks you will need to peel of the icicles off the wax paper. I waited until I had a large collection of them before applying to the house. I would suggest making more than you think you might need. Make the icicles in all different lengths just like they would be on a house. Use the glue gun to make a blob on the house and with tweezes apply the icicle.
Once the icicles are all on you can go around with the glue gun to the roof and make small piles of glue to look like piles of snow. Quickly add the snow on the glue. The cool temp glue dries very quickly. Good luck and I hope you enjoy doing a similar project soon!