

I know this is after Halloween but I could not resist one more article on the holiday. I love the holiday season and trying to keep up with all the things that I want to do and never enough time to do them in. I have started working on projects year round so that I can get everything done on my enormous list. At the rate that I am going I may need to rent a storage unit just to store all the holiday stuff I am creating.
*Just so you know almost everything I make is also for sale so check out my website. I will be adding things often. RoxanneStorlieDesigns
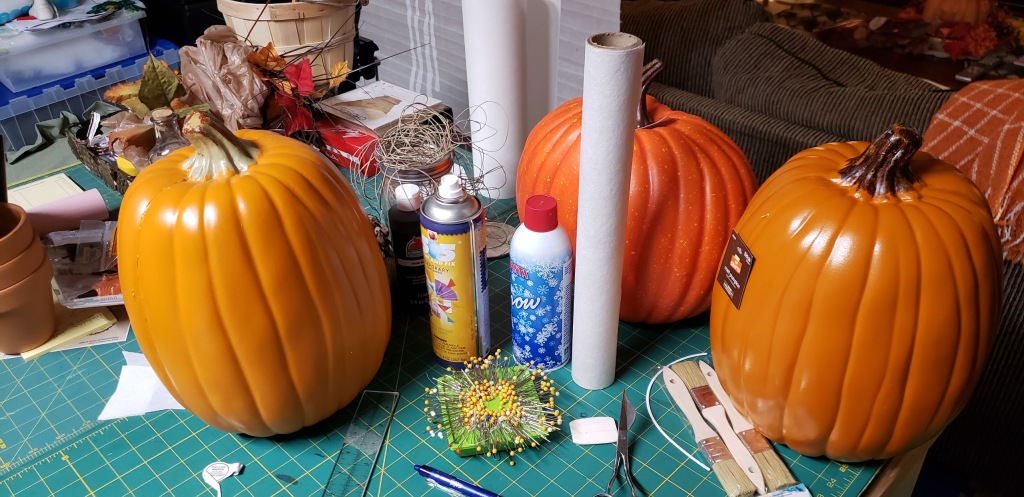
Now, if you search high and low for the fake pumpkins you can find a bargain on them. The best deal that I found was at Walmart. But you will have to buy them as soon as you see them because they go really quickly. As you know with crafty people you need to have all your decorations planned because you must buy your supplies as soon as you see them being put out in the stores. If you wait till it is a week before the holiday you will not find anything you want. But if you find something you like, get it, everything is on sale that close to the holiday and the week that follows.

Once you have your pumpkin you will need
pumpkin or pumpkins if you are feeling industrious
box cutter
paper mache material
Plastic container with a lid
white glue, you will need a big bottle of this
paints in the colors of black, brown, orange and mustard yellow
floral wire
aluminum foil
candle, battery operated one is best.
I drew the type of face I wanted on the pumpkin first so I had an idea where I was going to paper mache the face and where I wanted to add depth to the facial expression. You then want to decide how big of a hole to cut into the bottom of the pumpkin. I picked the candle I was going to use and traced it then cut it a little bigger than the line that I drew just to make sure it would fit.

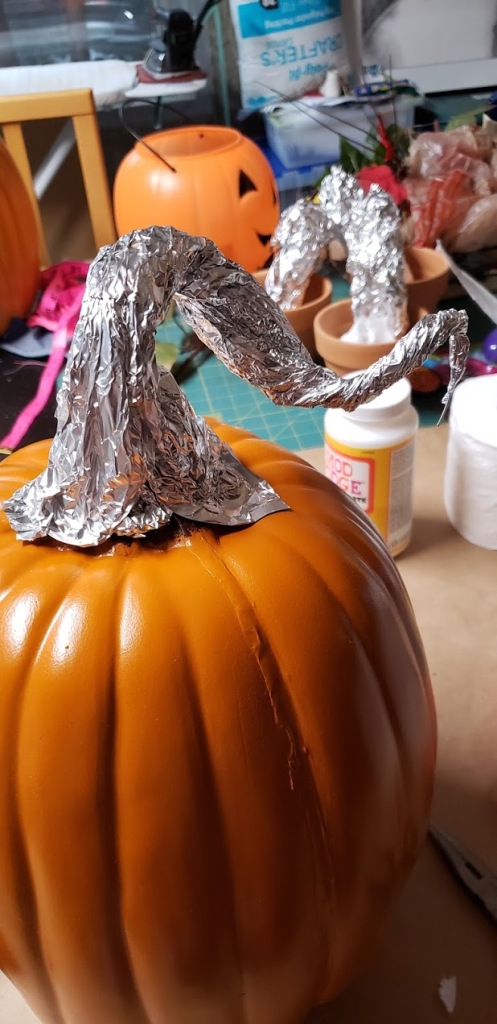
Once you cut the bottom out you will want to put wires through the top of the pumpkin for the extended vine portion. Start by cutting small pieces of foil and start wrapping it around the wires. Add more at the base and as you go out to the length of the wire get thinner and thinner. When you are happy with the thickness of the foil on the wire, shape the vine in the shape that looks interesting.

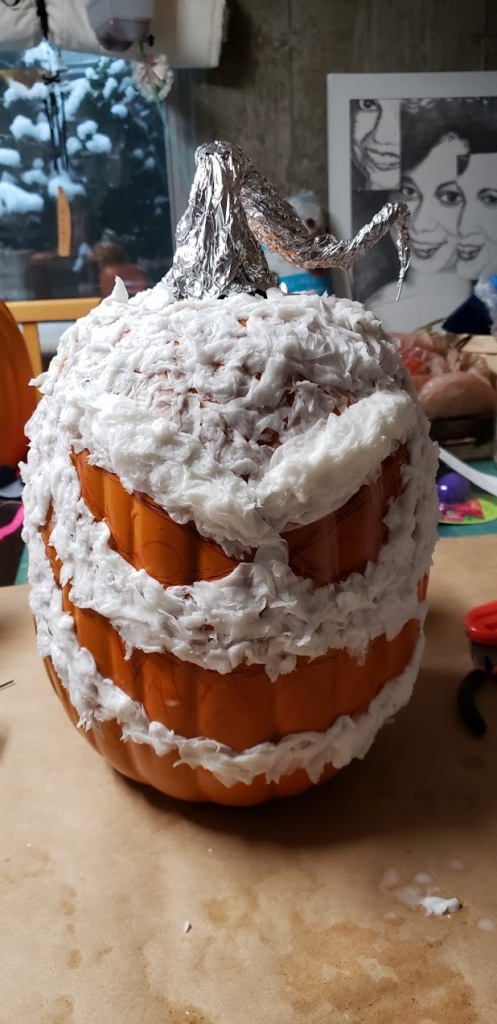
To create your paper mache material,here is what I used. I roll of toilet paper, a plastic container to mix my glue in. In the container I mixed half white glue and half water. (2 cups each) You want the mixture to be a bit on the thick side so it will hold the toilet paper better to the pumpkin. Having the lid on the container helps in case you have to leave in the middle of doing this pumpkin. Oh and allow yourself a lot of time on this project. I had planned to do 3 pumpkins and ran out of time due to how long it took to do the one. When I do the next 2 I will do them at the same time. Now I would tear off about 12 inches of toilet paper, easier to handle in small amounts. Dip the toilet paper into the glue mixture and get it pretty wet. (the toilet paper is hard to pull apart once it is wet so get creative on pulling it apart and applying it to the pumpkin.) I added more over the eyes and gave him really large eyebrows and around the cheek area for his smile. The more layers the longer it will take to dry. You can speed up the process a bit if you want by using a blow dryer. I only did the paper mache around the face area and not on the back side of the pumpkin. I put the paper mache all the way up and down the vine piece also. For the vine I used paper towels and kind of twisted them as I put them on the vine. Made it look more realistic once it was painted.

*As a side note, you can use a heat gun and partially melt the pumpkin to get an even more gross look to the pumpkin.
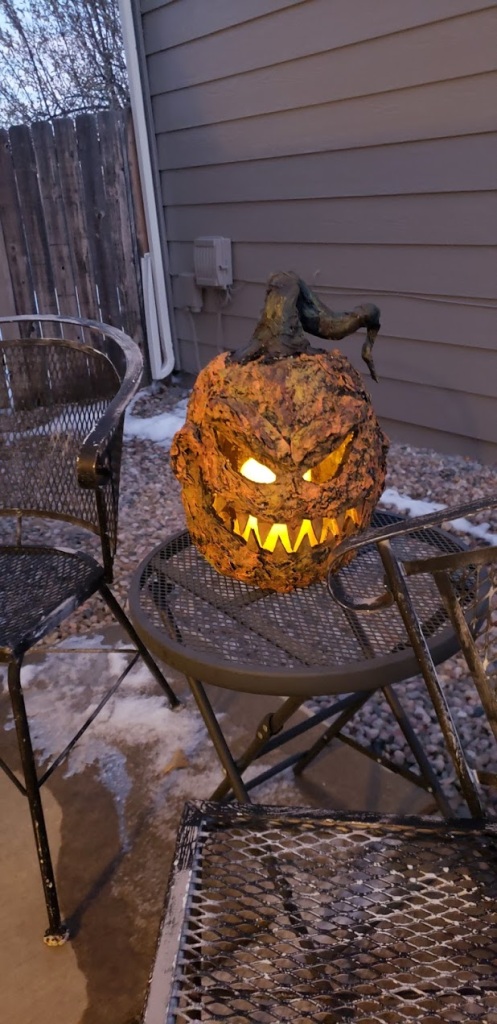
When your pumpkin is dry it is time to get creative with the paints. I started by painting all the paper mache areas black. Then I went back and dabbed orange paint to make it look like a pumpkin again. On top of the orange I blended the orange, yellow colors to get the effect of rotting pumpkin colors. On the back of the pumpkin I used the orange, yellow and brown colors to make it look like an aging, dirty pumpkin. The stem I painted brown and green with yellow as the highlights. I attempted to pain the inside of the pumpkin black. I say attempted because it would not fully cover the inside but, I ended up really liking the fact that it did not. It added to the creepiness of the pumpkin.

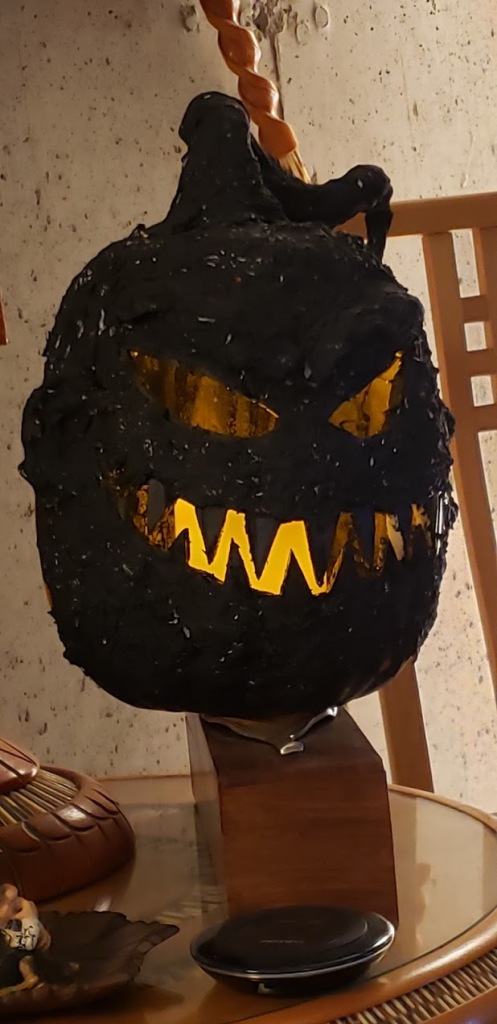

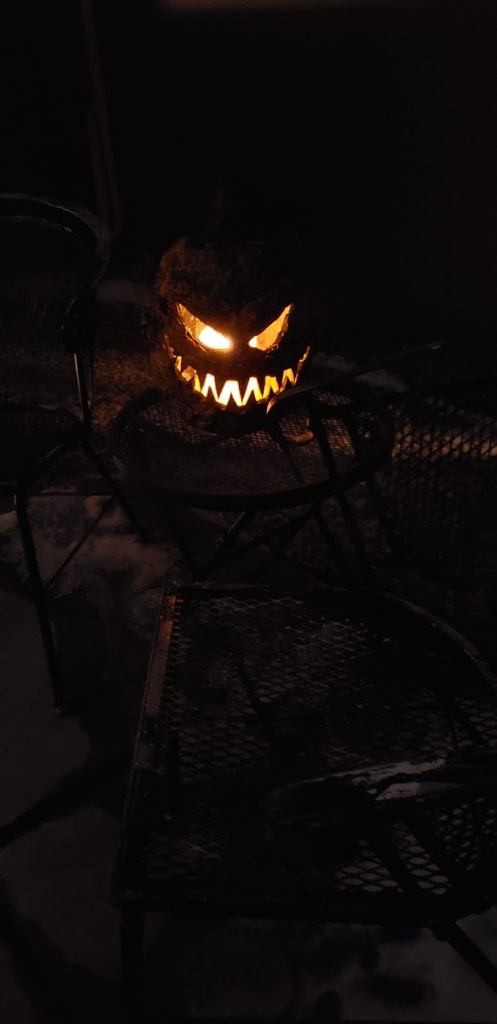
Once I put this guy outside I loved it and it was really scary at night. Well, at least I thought so. 
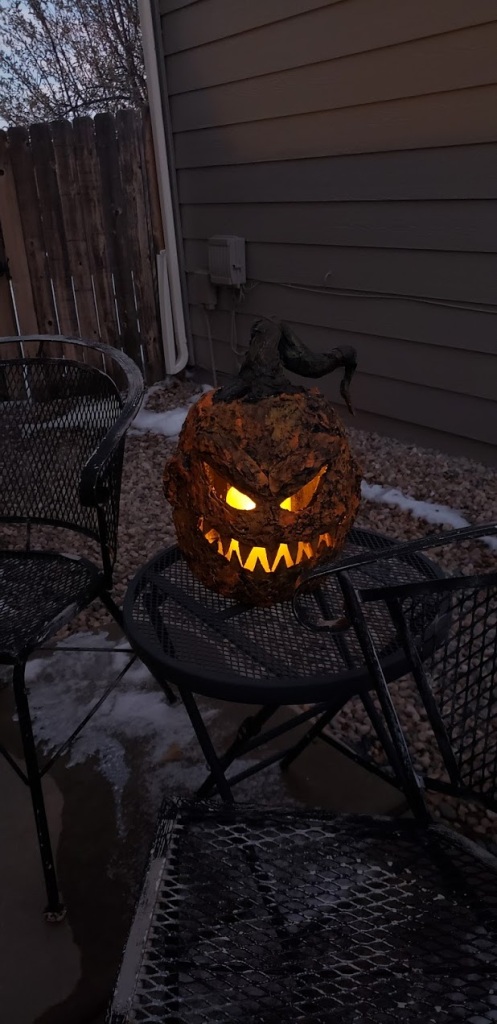

I had a blast making this guy and can’t wait to make more of these for next Halloween!
Till next time,
Roxanne