
WHY I WEAR A MASK
I never thought about all the things I touched, including my face each day. The average person touches their face 16-23 times per hour. Wearing masks as part of my wardrobe is an unusual thing to get used to. I did not see myself making masks either. Our government is now requiring us to wear masks at all times in public.
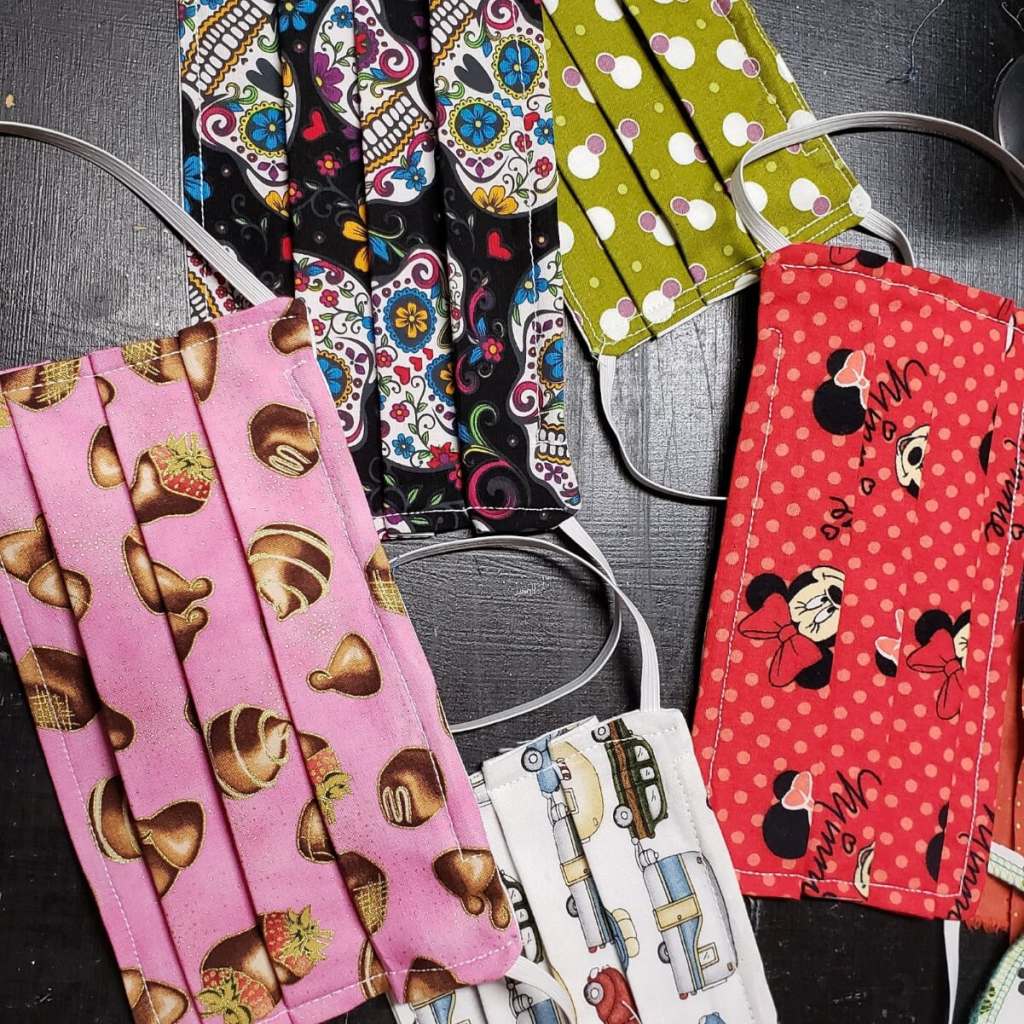
Seamstresses all across the world have come together and started sewing masks. I am one of those seamstresses who rose to the occasion. If you would like to try your hand at making a mask here are some instructions that will help you.
DISCLAIMER – DIY MASKS
A fabric DIY mask will not protect you from the COVID-19 virus.
The CDC has all the current information on masks on their website.
Face Mask Patterns
Tools
- Sewing Machine
- Rotary Cutter
- Rotary Cutting Mat
- Scissors
- Iron
- ironing board or mat
- Pins
- Face Mask Cutting Guide
Materials
- 100% cotton, quilters cotton. You can use fat quarters to make masks
- coordinating thread
- pipe cleaners
As part of my sustainability and upcycling I am using the tons of cottons that I have on hand rather than purchase fabrics. Which has been difficult during this pandemic. Much of my supplies I had already on hand but as the pandemic lengthened I have had to order all my supplies online. No offence to China or other countries I have ordered form only the USA businesses due to how long it takes to get here.
Elastic versus Tie Face Mask
It does not matter which you choose to do it is a matter of comfort. The next thing I ran into was the availability of materials. Everyone was running to the store to make masks and a lot of the people where making them and giving the masks away. I have made a great deal of masks and have a few recommendations. I personally am not fond of the 1/4″ elastic. It is bulky and will not stay behind my ears properly. I prefer the 1/8″ elastic or the round elastic. The smaller elastic stretches further and is more comfortable.

If you do not like elastic you can use double fold bias tape for ties or even create your own bias tape from fabric to match or coordinate.

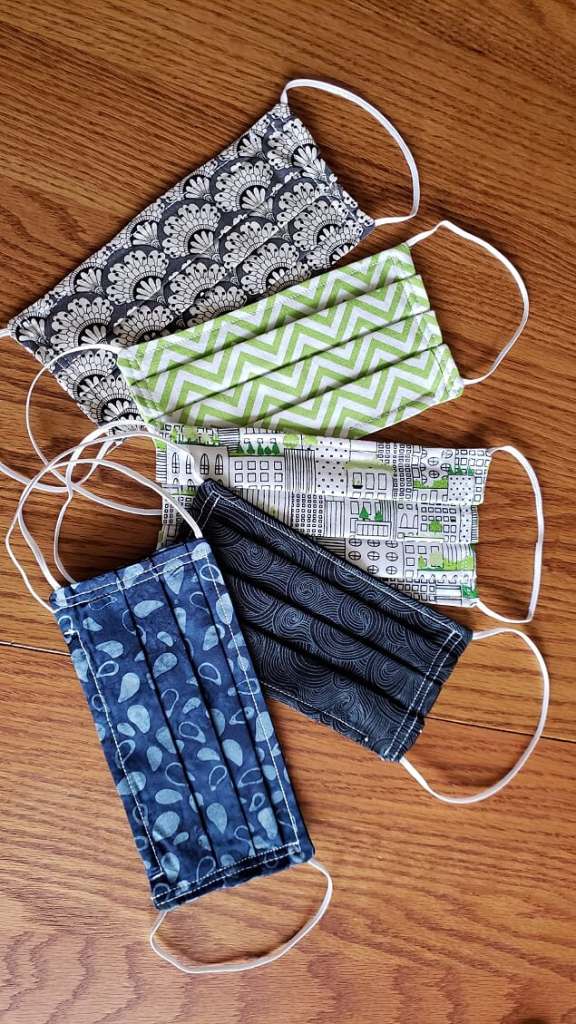
This face mask that I am going to show you is two layers of 100% cotton with a pocket for adding an additional filtering layer. You can use fat quarters to make your mask. Fat quarters are fabric that is precut that quilters and crafts people use for projects. They are cut at 22″ X 18″. You can use regular coffee filters folded inside. When you make this mask you want to use as tight a weave of fabric as you can find. I use pipe cleaners inside, across the top so you can mold it to your nose.
Mask Instructions
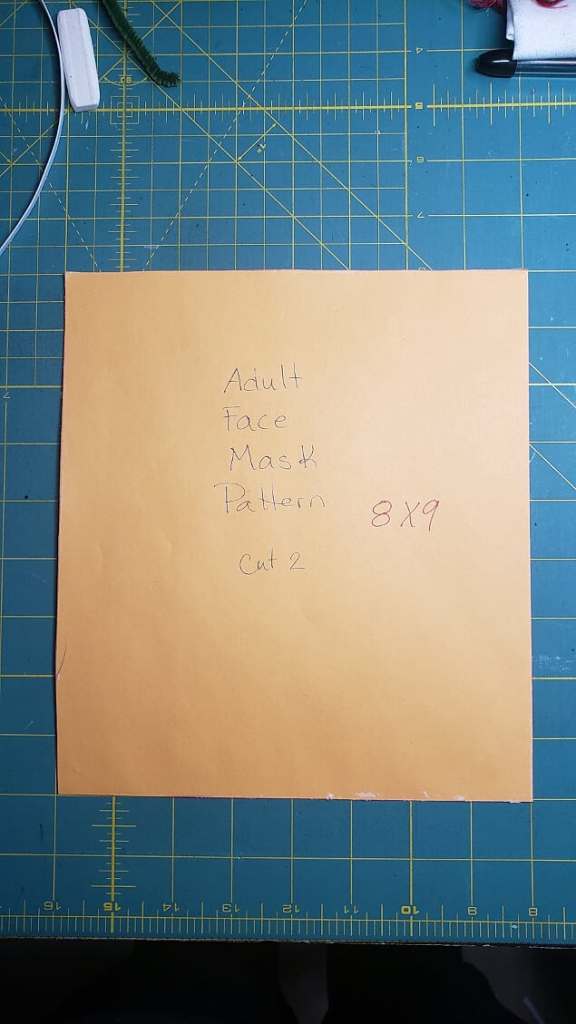
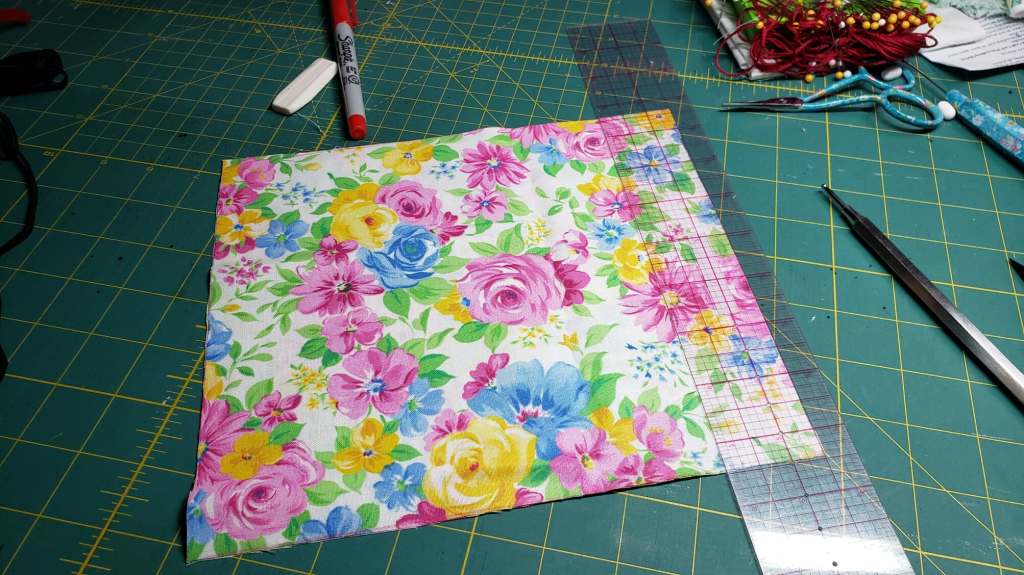
To start I made a cardboard pattern in the size of 8″ X 9″. I like this size because it actually seals better around my face than a 6″ X 9″. This size if for adults. You can adjust the sizes down for teenagers and toddlers.
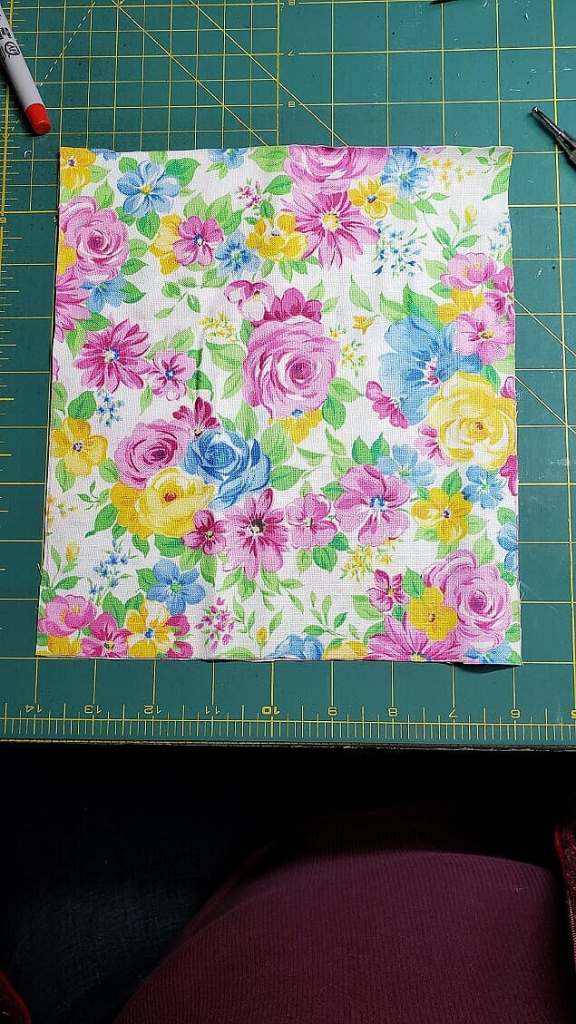
I cut two pieces of fabric rather than one so I can use plain fabric on the back side of the face mask and save the fun fabrics for the front. On the back piece of the face mask I measured down 1 1/2″ down from the top and cut.
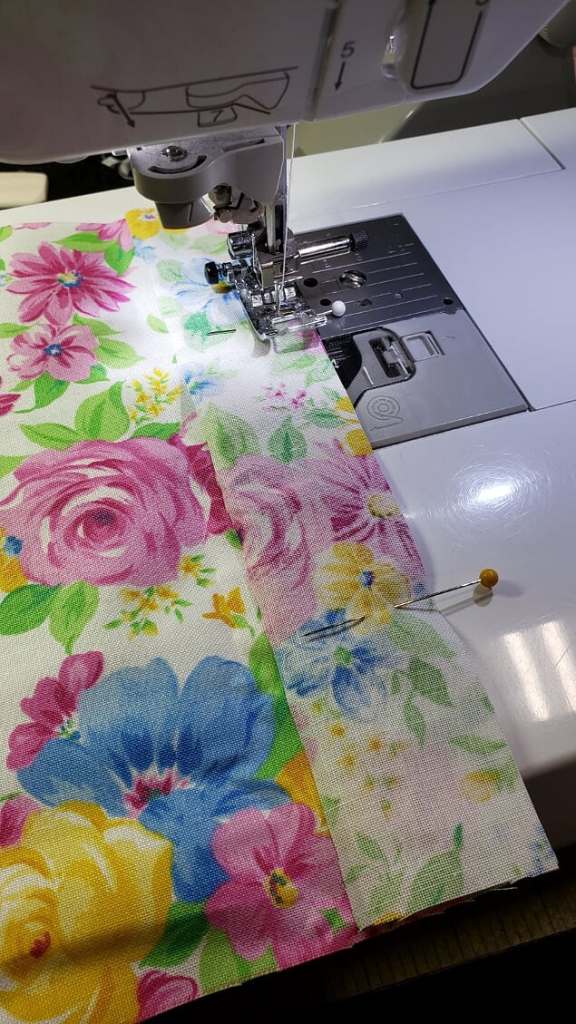
Next I sewed the top together where I just cut but only sew roughly 2″ in from the outside edge on both ends.
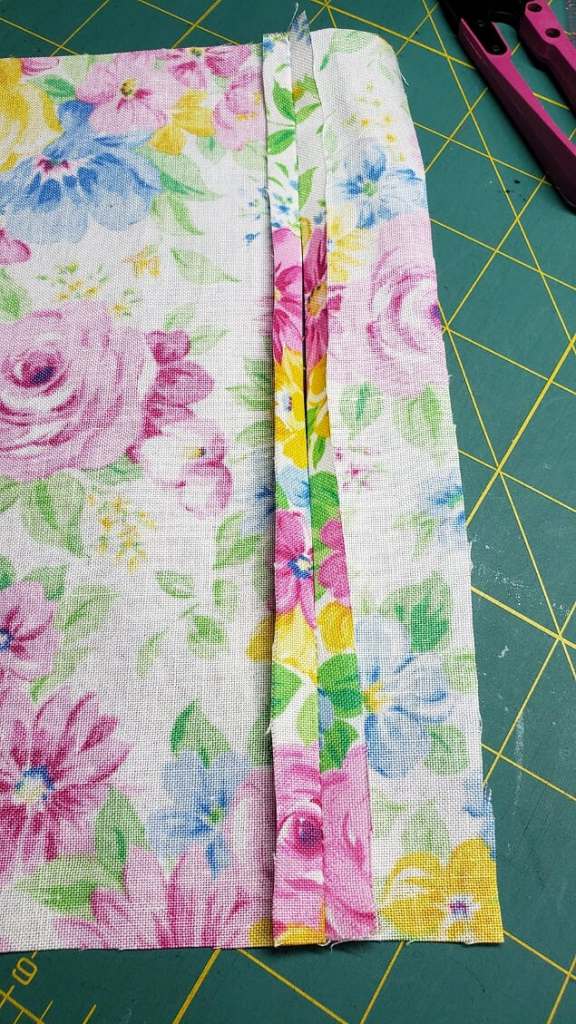
I then press the seam open and top stitch the seams down. This forms the pocket so you can add a filter.
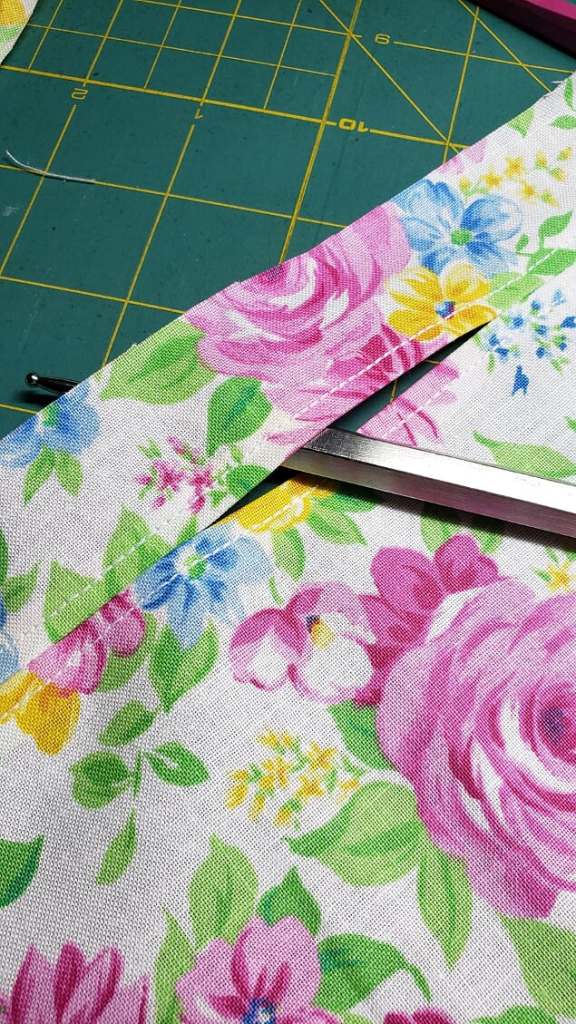
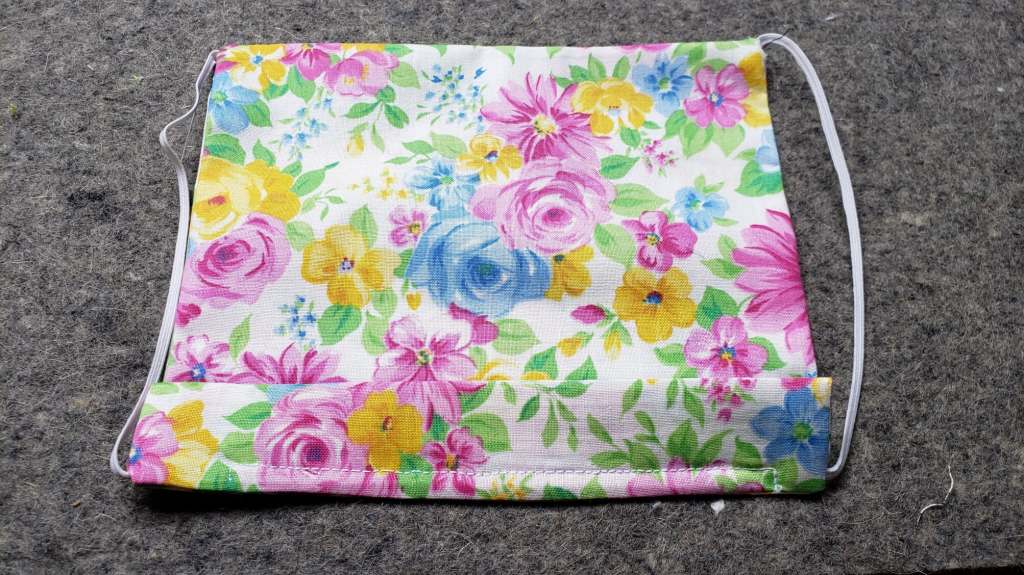
Cut the elastic to fit either a man 9″ or a woman 7″ for each ear. Pin them to the sides at the top and the bottom of the fabric, and sew all four sides together.
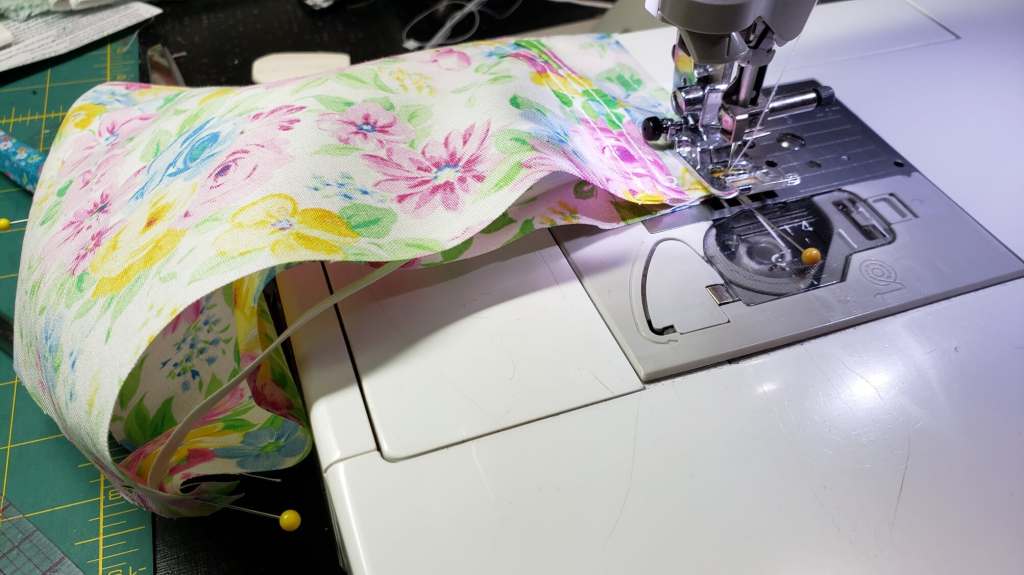

Turn right side out and press. Once pressed you will want to put a pipe cleaner in the top so you can fit the mask better to your face. A suggestion is to curl each end so the wire cannot poke you in the face.
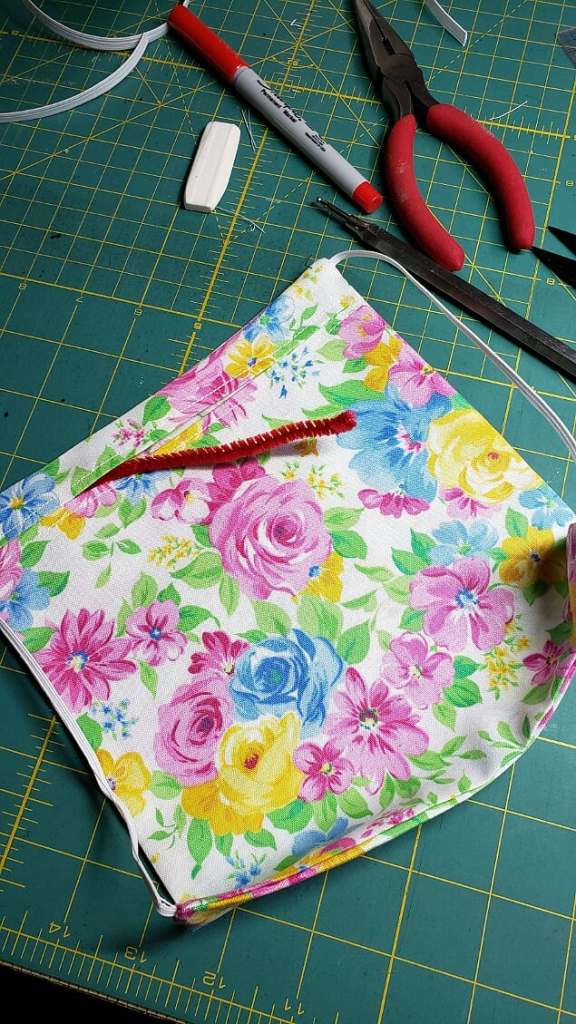
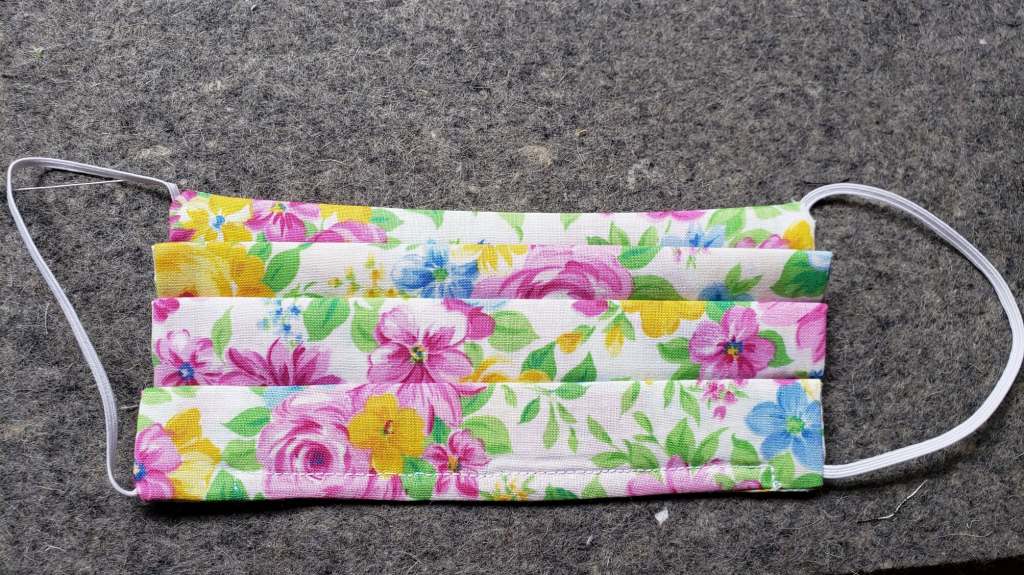
Once you get the wire in you will want to sew around the wire to keep it in place. It also helps you remember which is the top of the mask. Once that is done you will want to start your folding to create the pleats in the mask. I choose this pleating method because once in is on your face it seals around your face from under your chin, up your cheeks and around your nose area, once you squeeze the wire to fit your nose.
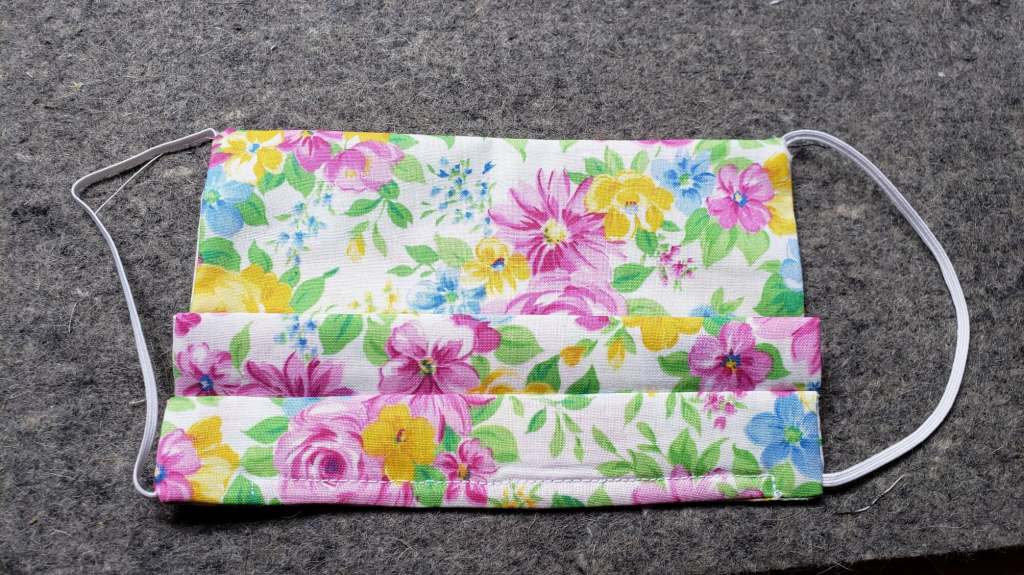

You want your final mask to measure 3″ high. Press the mask each time you fold it. The final fold you might want to pin the bold before you begin to sew. This way it will keep its shape while stitching. I stitched 1/4″ in from the sides and the bottom. I did a second row of stitching on the sides at 1/4″ from the first seam. This is over kill on the seams but I like the double stitching.
Your first mask may take you an hour as you figure this out. But once you make one you can make a mask in about 30 minutes. There are tons of patterns and instructions online and videos. I hope to start adding videos soon for you as well. Good Luck and have fun making masks!
Be Well, Be Safe
Roxanne