

When I was a kid, the first time I saw hydrangeas was at a farmhouse, I thought I was looking at cotton candy on the bushes. I had to actually go up and touch the flowers to make sure they were real, all the while hoping it was cotton candy. I was ever so disappointed when I touched it and it was only a flower. Disillusioned as I was, I was still fascinated by the beautiful colors. I instantly feel in love with the hydranges.
-
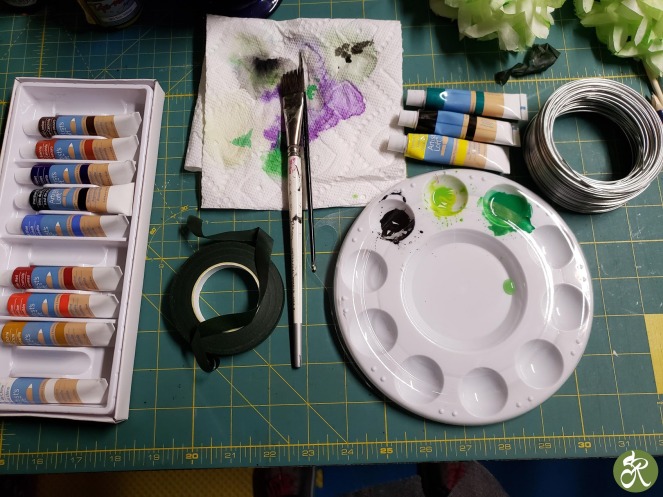
water color and supplies
Now, I don’t know about you but, things and smells take me back to a time and a place. Mostly good memories. They can make you day dream of a place you loved. I believe that sight and smell are a powerful thing, as is our brains. Hydrangeas make me remember being in the country. At a farmhouse that was surrounded by them. I loved the beautiful colors of the big flowers. I stumbled across an enormous amount of Youtube videos of so many people making hydrangeas from coffee filters. Intrigued since I am always challenging myself to find as many ways to make flowers for my home, and to spend as little money as possible to achieve the look that I want throughout the house. I decided to give it a try. I was very excited to get started. I picked up the coffee filters, wires and floral tape at the Dollar Tree. As I am sure you have seen so far I have made several kinds of Free Standing Lace Flowers up to this point. I have more that I will be making soon also. (later blog)Today I am making flowers out of coffee filters. In particular I am going to make hydrangeas in several colors. I prefer the colors blue, purple and green.
-
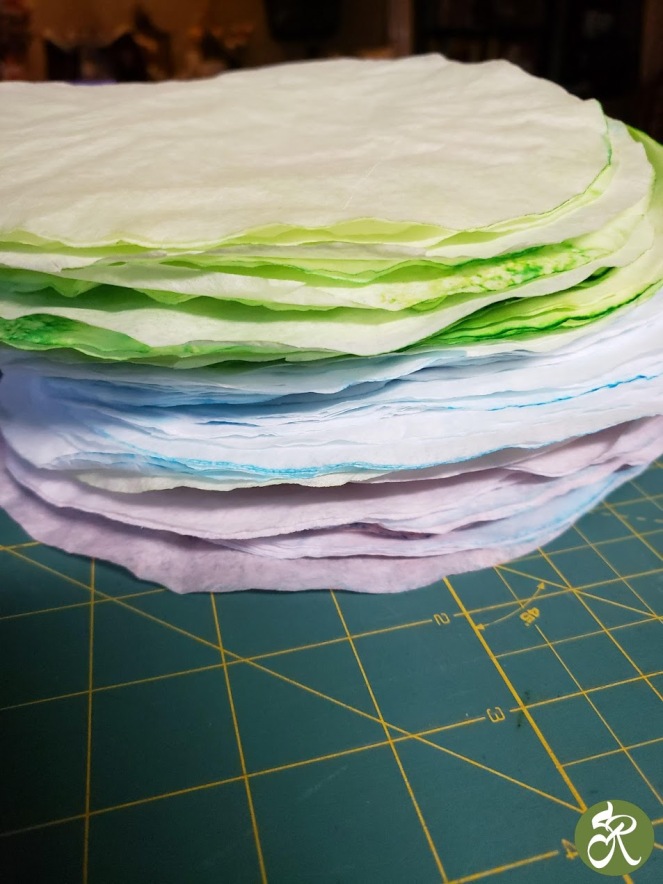
coffee filters dyed and stacked
Now I tried to dye the coffee filters with food coloring and I was not happy with the out come. I wanted a much darker flower and I was limited on the food coloring I had on hand. So The next thing I tried was water color paint. I loved the out come with the water color paint. I also tried acrylic paint that I watered down a great deal. I did not like how the flowers came out with this paint. So, in the end I loved only the water color paints. My next batch I may try using permanent markers and see how they do.
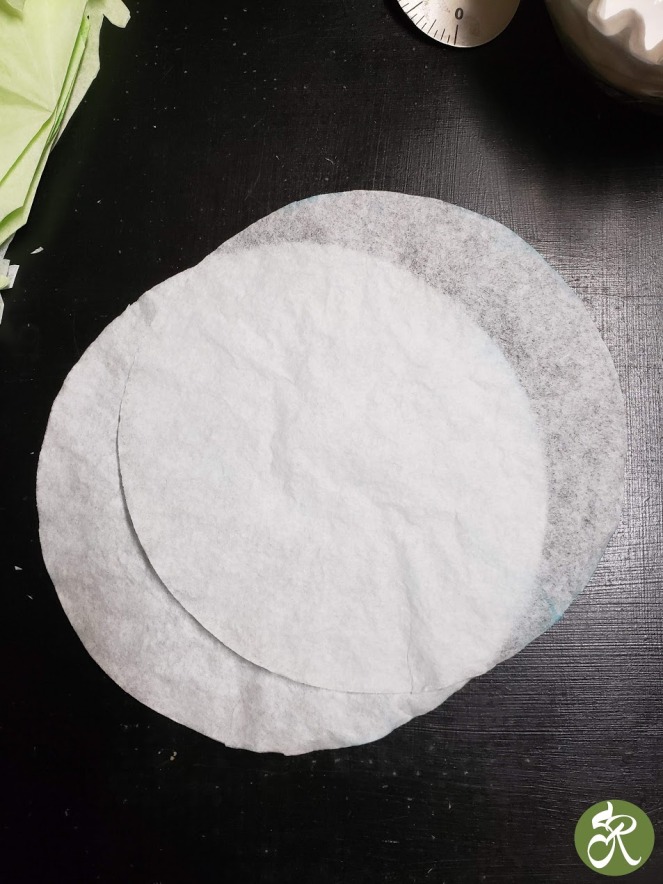
The next step was in the folding of the coffee filter. First fold two filters in half.
-
coffee filter hydrangeas -

fold coffee filter
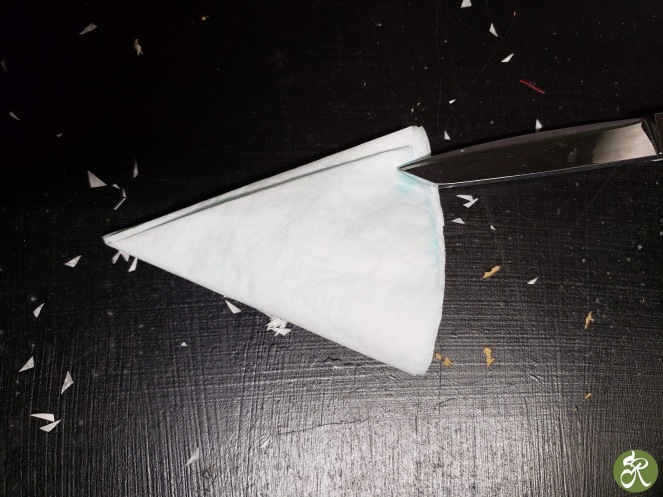
Next fold the filter in half again. Then you need to cut part way down on the folds on either side.
-

fold again and cut coffee filter -

cut both sides of folded edges of coffee filter
Next you need to fold the coffee filter again. and cut again.
-
fold and cut coffee filter again -

fold and cut coffee filter one more time
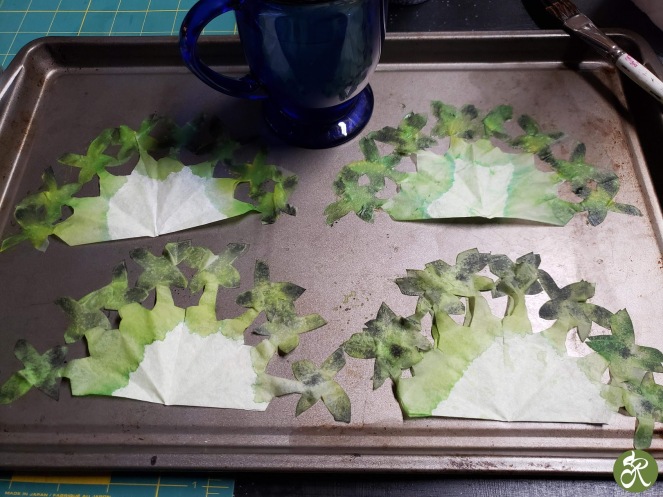
Once the filter is folded, you then need to draw the flower on the coffee filter, and cut the flower out. Draw the leaves on coffee filters. You can clip the edges after you cut them out to make them look more real. Or you can buy greenery at the dollar store if you don’t feel confident in making the leaves.
-
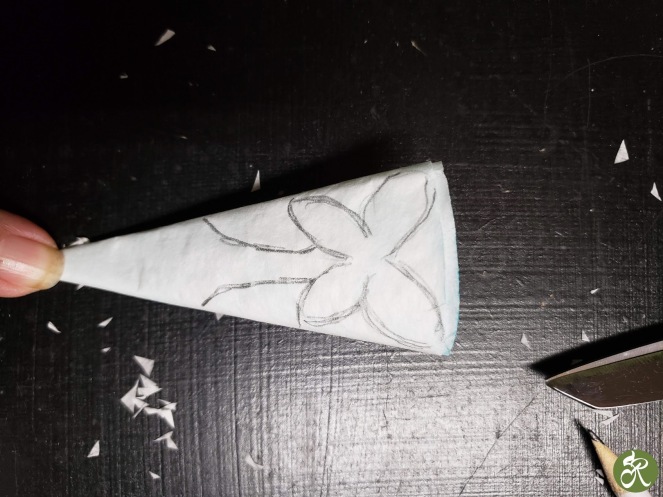
draw the hydrangea flower on to the coffee filter -

coffee filter leaves
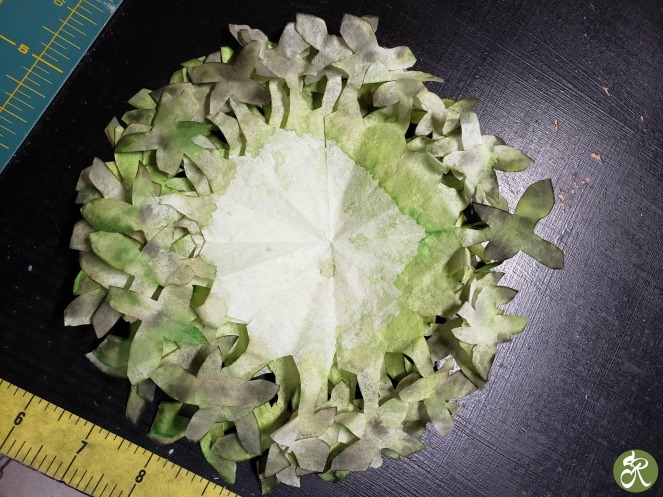
Now the fun begins, painting. I got the edges of the petals all the way to the half circle wet with water. Then I chose the color blue and painted it, letting it run. I put a line of yellow down the middle of each petal. Then I took a smaller paint brush and painted around the edges of the petals to make them look slightly burned from the sun.
It takes 8 coffee filters per flower.

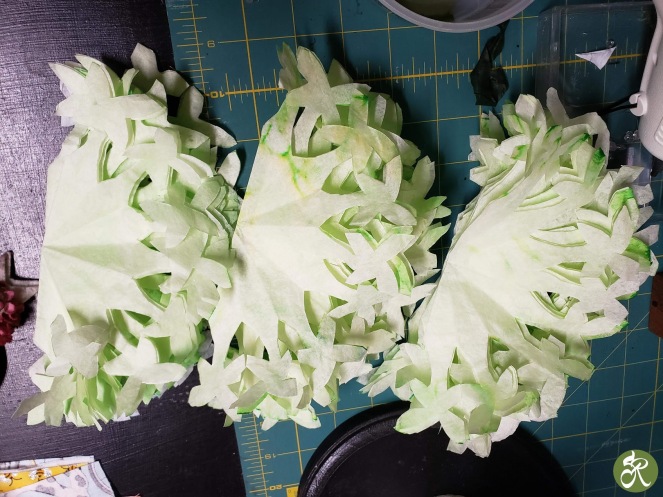
Dry these in the oven on a low temp or air dry. When you are done stack them on top of each other.

You want to slightly twist the petals so that the petals are not on top of each other. Next fold the coffee filters in half.
Once you have folded them in half, begin to roll the solid part of the coffee filter into a tube and glue it with the glue gun. On a side note, I think the wire I choose was to thin. I recommend a heavier gauge wire. only because it is easier to assemble and a stronger stem. For the wire I am using this time I used needle nose pliers and twisted the top. Then I inserted the wire from the top of the flower down through the cone end, and put glue inside the flower to hold the wire in place.


