Best laid plans of most of us can and usually does go awry. Every year I have all kinds of ideas for decorating and for present making and which cookies I am going to bake. There is just never enough time to get everything done. Of course if you are a Christmas Hallmark movie watcher you can feel like you are not keeping up with all todo for the holidays. For me, these movies are an inspiration of ideas. I have now created a plethora of new ideas of traditions to add to my family traditions. This year with COVID-19 issues and people losing their homes, jobs, and businesses closing I felt this year I needed to go all out with decorations, baking and cooking to help us get through this year. It is only the two of us for the holidays this year and we had to get creative so we would not miss the rest of the family. Teaching my mother how to use messenger videos has been a challenge but, it is helping to do video talks instead of texting.
I saw a version of this on a Youtube video and decided to see if I could come up with something similar with the least amount of money being spent. Partially because you can’t count on stores being open or even having the supplies to do any craft project. This is a nutcracker centerpiece. For the top and bottom pieces I used the stove covers we were no longer using and I spray painted them white. I bought the nutcrackers at the Dollar Store as well as the greener or flowers used. I had the tiny LED lights on hand and the candle on top.
I should have sealed the metal after spray painting but I liked how it looked. I glued the nutcrackers first. Then I added the greenery. They are flower picks you can cut them to the size you need. (I added the LED lights later but I would add them here while you are building your greenery. It is a lot easier to work the lights in now then later.) I should have sanded that little bump on the top of the hats to have a larger surface to clue the next piece on. In the end it worked ok because I am not moving this around the house. Also not putting heavy things on top.
The metal burner cover I put on top I glued it upside down. I chose not to glue greenery and any other thing like a candle because I wanted it to be able to use it to put a small plate of goodies on top if I want at a later date. As for the nutcrackers, I chose to have them all the same and left the hair and beards on. I also liked the colors of the uniforms so I left them as is. I wanted them all to match so bought all four the same. You can paint them to match the colors you are using to decorate with so it will match your room better.
I like it with the red candle but it is just a nice with a white candle. I use battery candles now. I still have flame candles but use only in emergencies.
I already did a tutorial on the apron I had done about being a lead baker. Here is the group that I finished this year.
Here is a cake idea for you also. I had bought this cake mold years ago. I love snowflakes. Here I made a Krusteaz Meyers Lemon Pound Cake in the shape of a snowflake and did the lemon icing also. For this mold it took 2 boxes and almost double to cooking time. Yum!
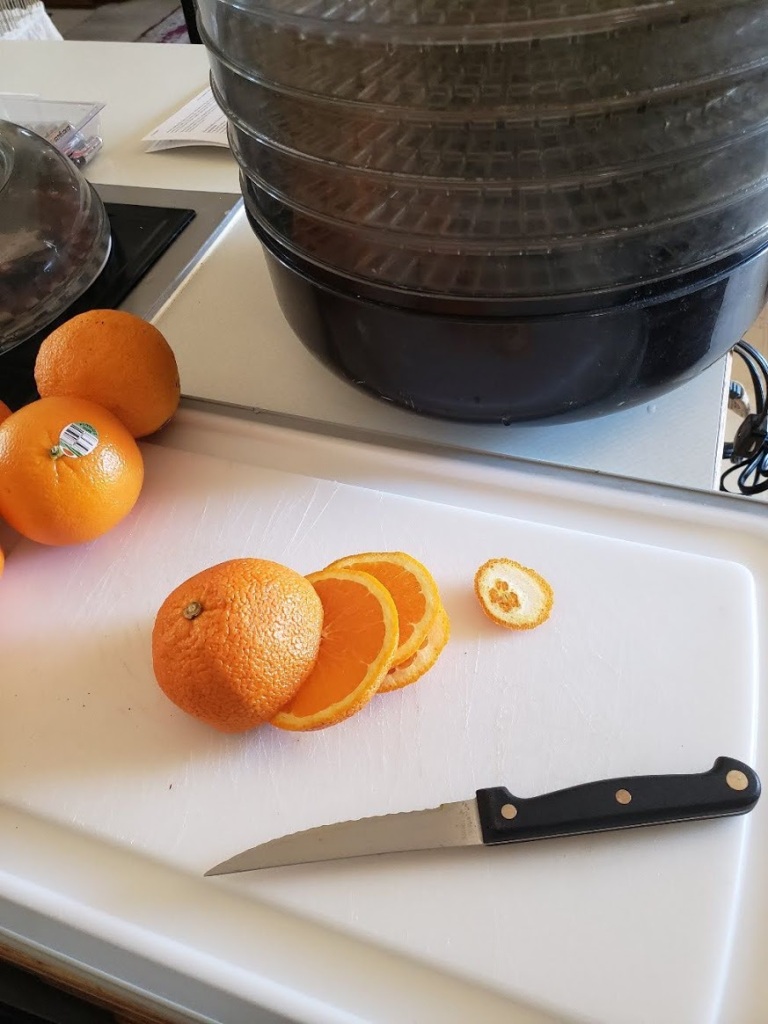
I dehydrated oranges and lemons to use in my decorations this year. I started by cutting the oranges and lemons and placing them in the dehydrator. I thought this might work better than the oven. I believed it was less chance of me over doing them to the point of turning brown. The smaller pieces still turned brown. You really have to watch this.
I also scattered them around the house and on presents.
This year I decided to make my own vanilla extract. I love this idea and I think I will start to include other flavors as well. I bought a rather large jar for trying this recipe. I got the jar at IKEA. This size of jar will last me for at least a year if not longer. A 4oz size jar is better and you can make these as gifts year round.
I bought the vanilla beans at Costco. I used Grade B Vanilla Madagascar beans. The Tahitian or Mexican beans will work also. They have a slightly different tasted to them. It will take about 4 to 5 vanilla bean for every 8 ounces (1 cup) of alcohol. You will want to use the best quality of vanilla bean you can. It is more important than the alcohol you use. You can use 80 proof Vodka (brandy or bourbon) or in my case I decided to try Spiced Rum. This batch I made about 3 weeks ago. I look forward to using this soon as my other bottle is empty. You might need a funnel to pour the alcohol into the 4 oz jars if you don’t have a steady hand pouring slowly.
I bought the vanilla beans at Costco. I used Grade B Vanilla Madagascar beans. The Tahitian or Mexican beans will work also. They have a slightly different tasted to them. It will take about 4 to 5 vanilla bean for every 8 ounces (1 cup) of alcohol. You will want to use the best quality of vanilla bean you can. It is more important than the alcohol you use. You can use 80 proof Vodka (brandy or bourbon) or in my case I decided to try Spiced Rum. This batch I made about 3 weeks ago. I look forward to using this soon as my other bottle is empty. You might need a funnel to pour the alcohol into the 4 oz. or better 2 oz. jars if you don’t have a steady hand pouring slowly. This is easier to store and you can have a larger variety if that is a route you want to go.
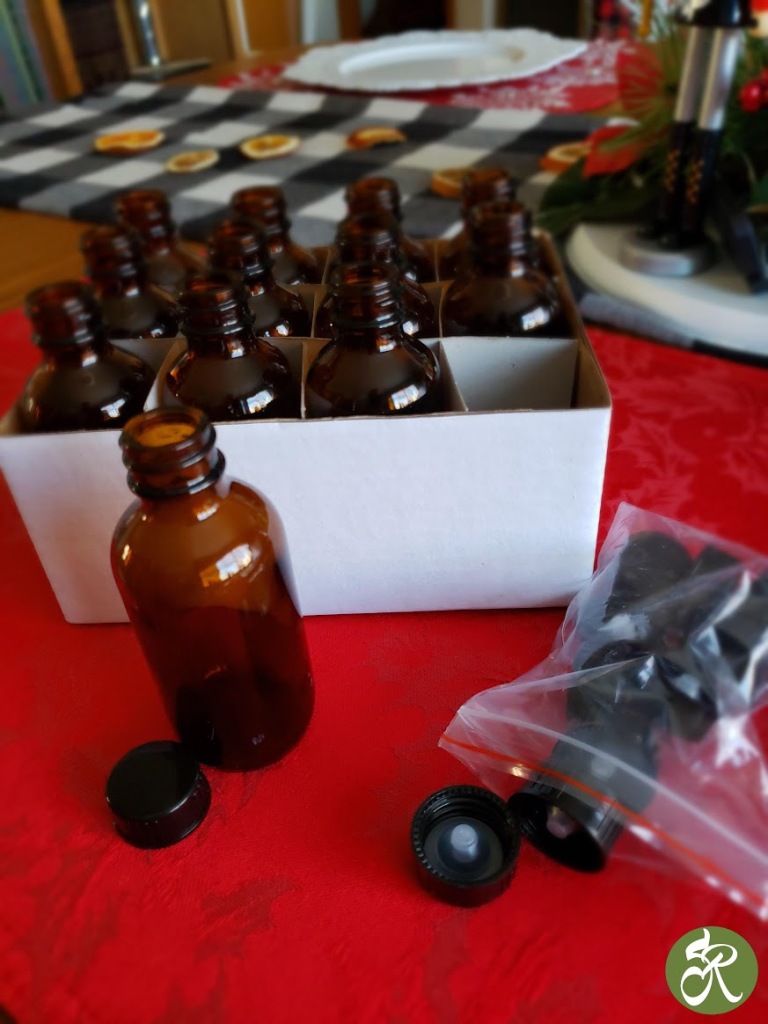
I bought smaller jars on Amazon to make smaller amounts of vanilla. But now I am looking at making all of my own flavors. The jars are amber 2 oz. jars. These jars come with the lids. You can also buy the labels for the bottles at the same time. Keep in mind what size you are buying of labels to match the size jar you buy.
I will update you on another article when I do more than one flavor and show them with labels. Have fun.
Be safe, be healthy, enjoy life,
Roxanne


