
I am one of those people who loves being at home, not a hermit mind you, just at home. I strive to create a space of peace and harmony throughout the house and garden. I keep a journal for the plethora of ideas I have for future projects. This helps me to plan and budget for the projects that I want to do.
During this pandemic, I have found I am as busy as if I were at a paying job outside of my home. With the situation of the virus, I am not a panic type of person, so I was confused by the public panic and hoarding. What I would like to talk about is being proactive vs. reactive. We can not control who gets COVID-19. We can not control anything about the economy right now. We can not control, most of us cannot if we have a job. What we can control is what we do about it. The one place you can take control back is to plant a garden. When times are bad, we plant victory gardens. This style of gardening was popular during World War II. We are finding ourselves in a similar situation with shortages again. Although not as difficult as during the war but, we should still be proactive. I would suggest that you plant it as large as you can handle growing and taking care of one. I have experienced food shortages in grocery stores. The cause was not a shortage of food, it was a problem with the distribution of the food. Farmers and ranchers could not get their products to the market. Instead of us panicking we have two choices.
First, I would suggest that you find a way to buy directly from the farmers and ranchers if you have no yard or any place to grow food.
Second, I would suggest you plant a garden.

I grew part of my plants from seeds, and additional plants were purchased as seedlings from the store. I went shopping several times a week to find all the plants I wanted. (we still must wear masks in the stores) I plan to preserve the harvest come fall.
-
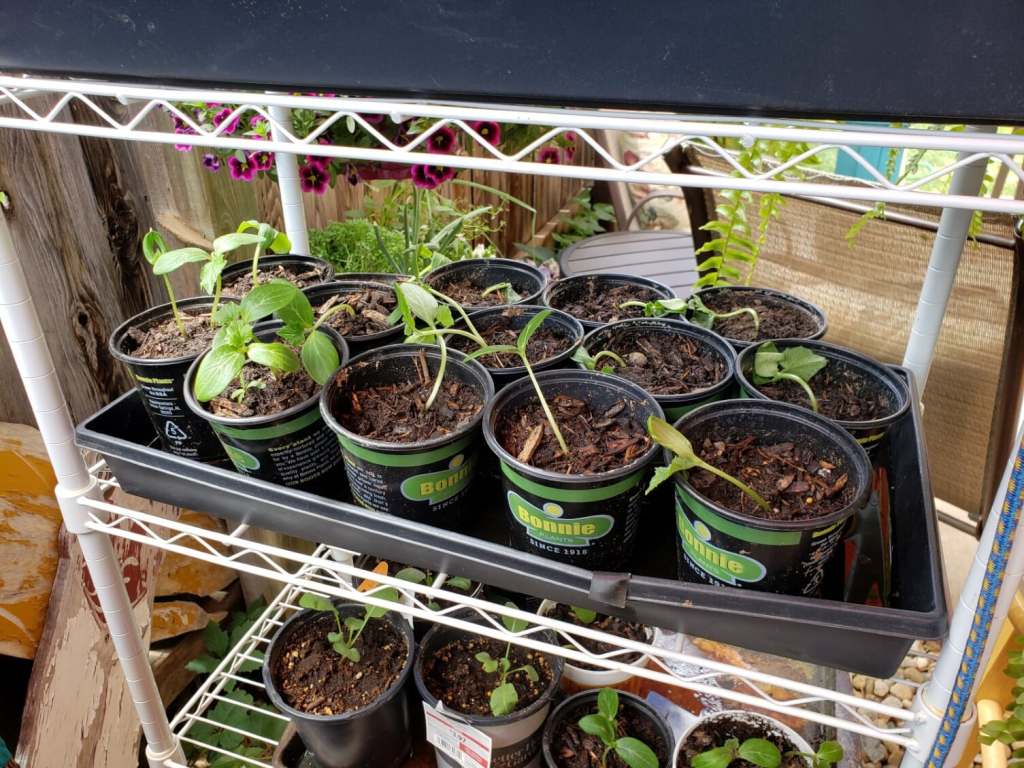
Cucumber plants getting ready to transplant to bigger pots -
Bush Tomatoes and Bush Beans read to be planted -

Great way to start your seeds, then just plant the eggs in the soil
I am experimenting with a different way to grow my crops. I bought food grade buckets at the hardware store. I bought 11” plastic plates at the dollar store to put in the buckets. I saved aluminum cans to put in the bottom of the buckets. I am doing this for several reasons. My yard is like a wind tunnel, and everything gets blown over. Filling the bottom of the bucket with cans and water will add weight to the buckets.
-
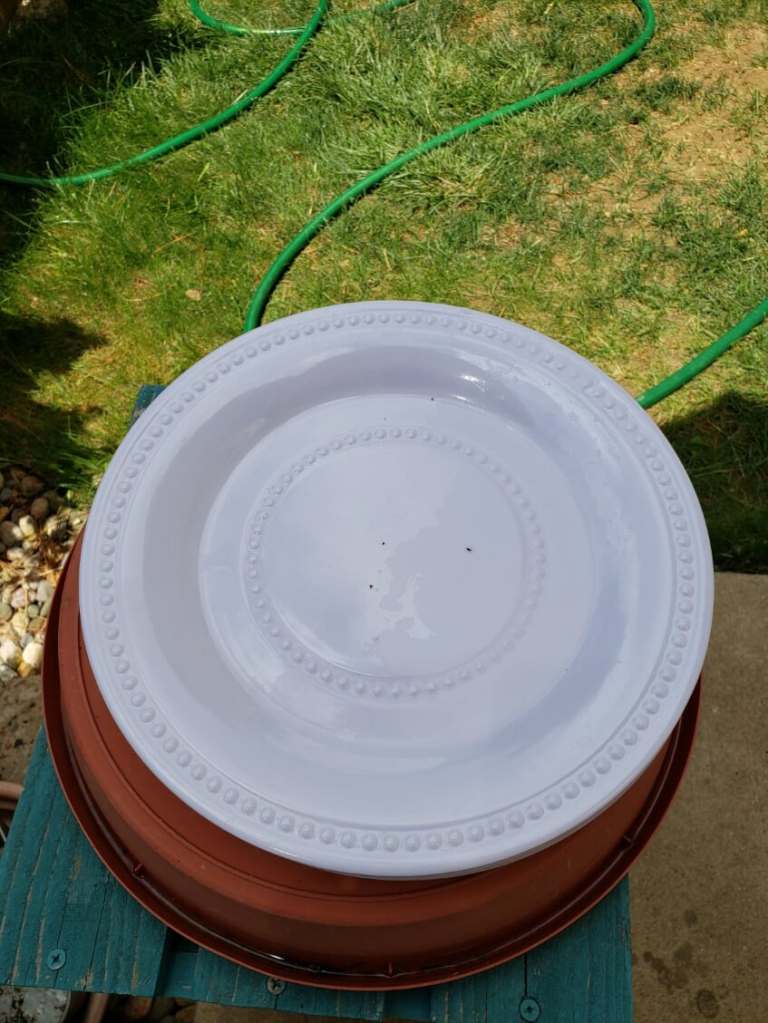
Plastic plate from Dollar Store -
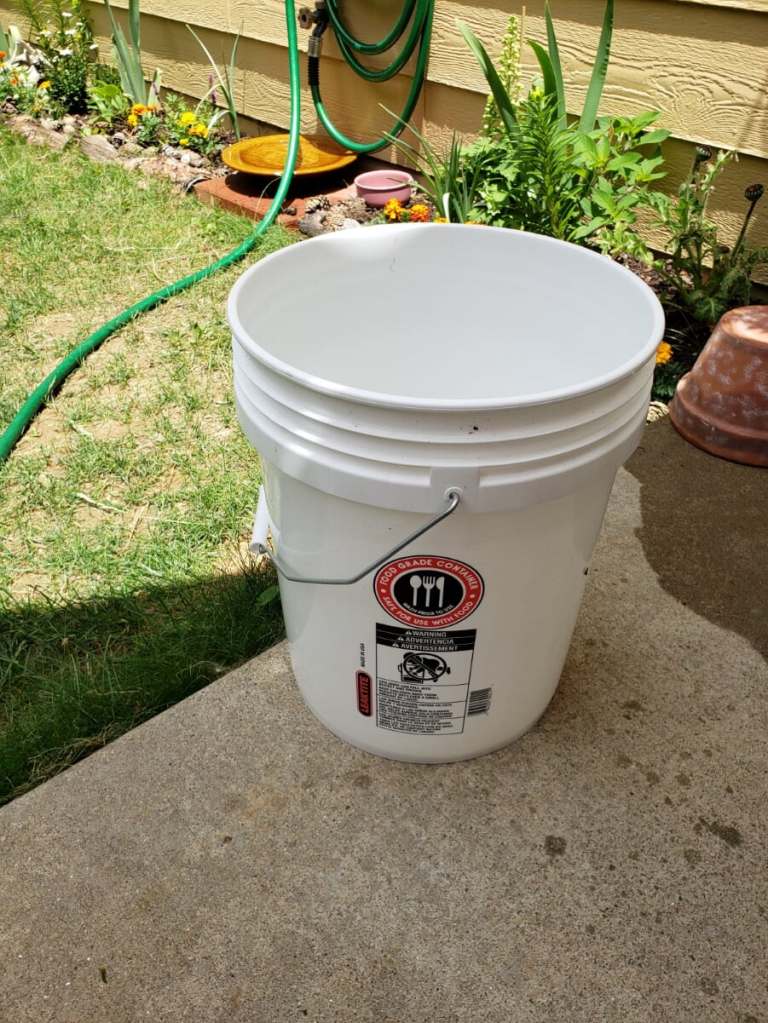
Food grade bucket for planting -
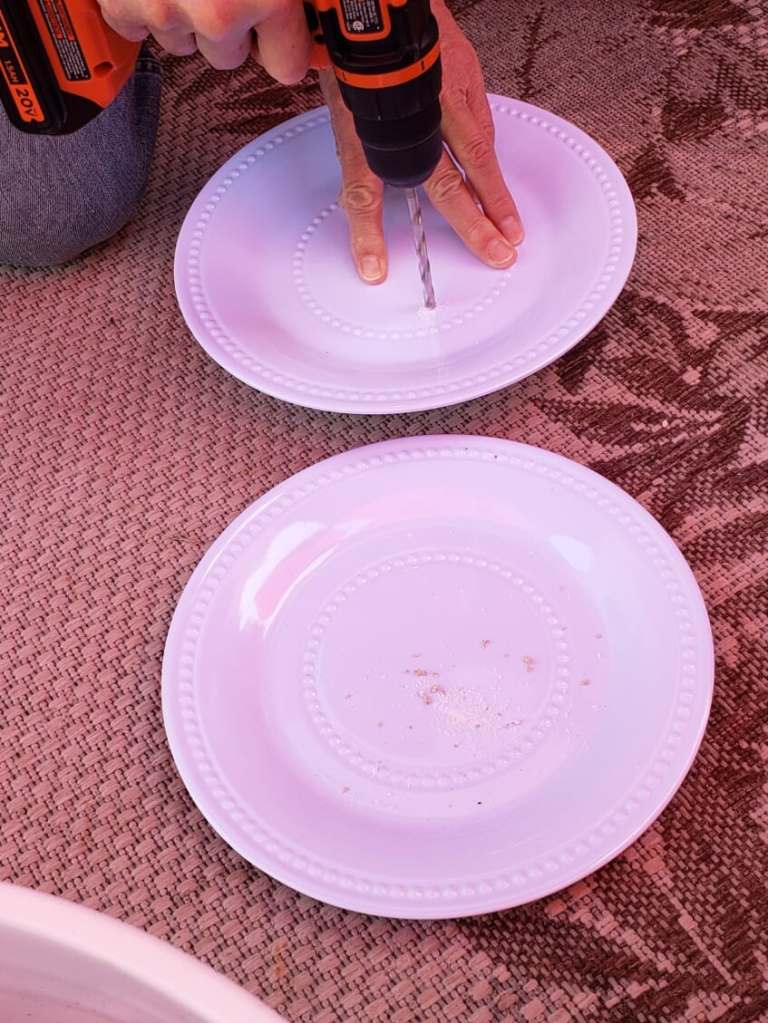
Need a wood block under plate to drill -

Drilling the holes in plates -

Plastic plate with drilled holes for drainage
I am experimenting with wicking buckets to grow my garden this year. I set the aluminum cans standing on the bottom of the bucket. I then drill holes in the plastic plate that will sit on top of the cans. Once the plate is in place, I drill a large hole on the side of the bucket just above the plate, for the overflow. Now that I have the cans and the plate in place in the bucket, I put coffee filters (coffee filters are from the Dollar Store) over the holes in the plate. Fill the rest of the bucket with soil and then plant your plants.
-
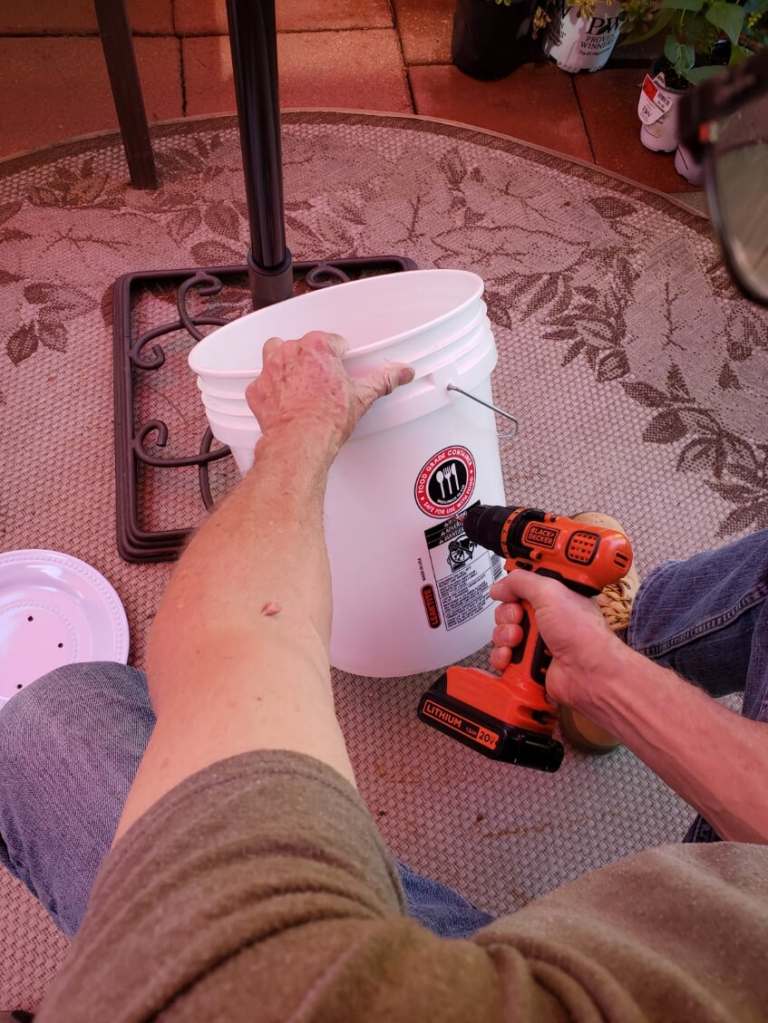
Steve drilling a large hole for the overflow of water
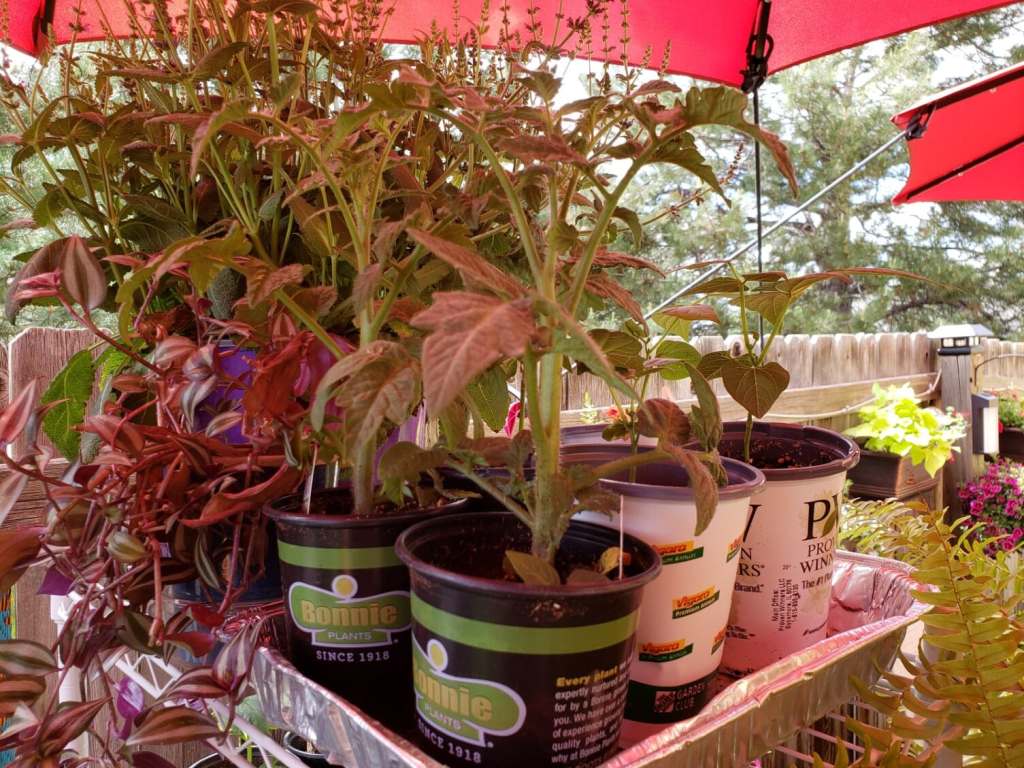
I planted dominant tomatoes all ripen at the same time rather than over the whole season. I also planted zucchini and bush beans in the wicking bucket method.
-
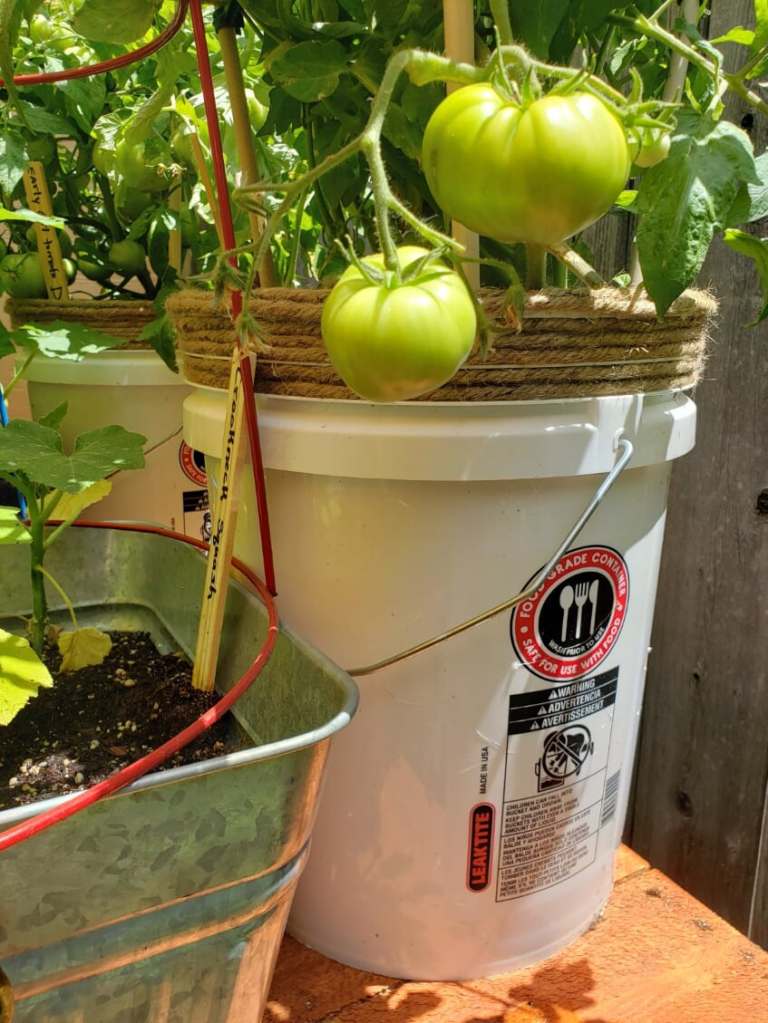
jute glued to bucket -
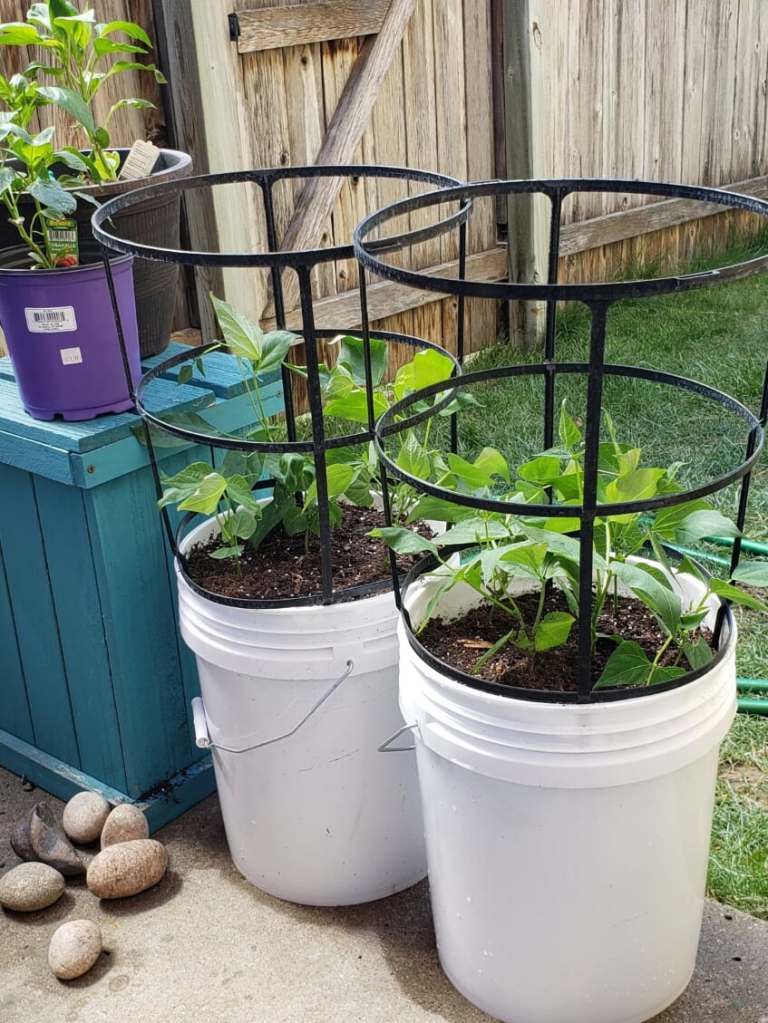
Bush Beans -
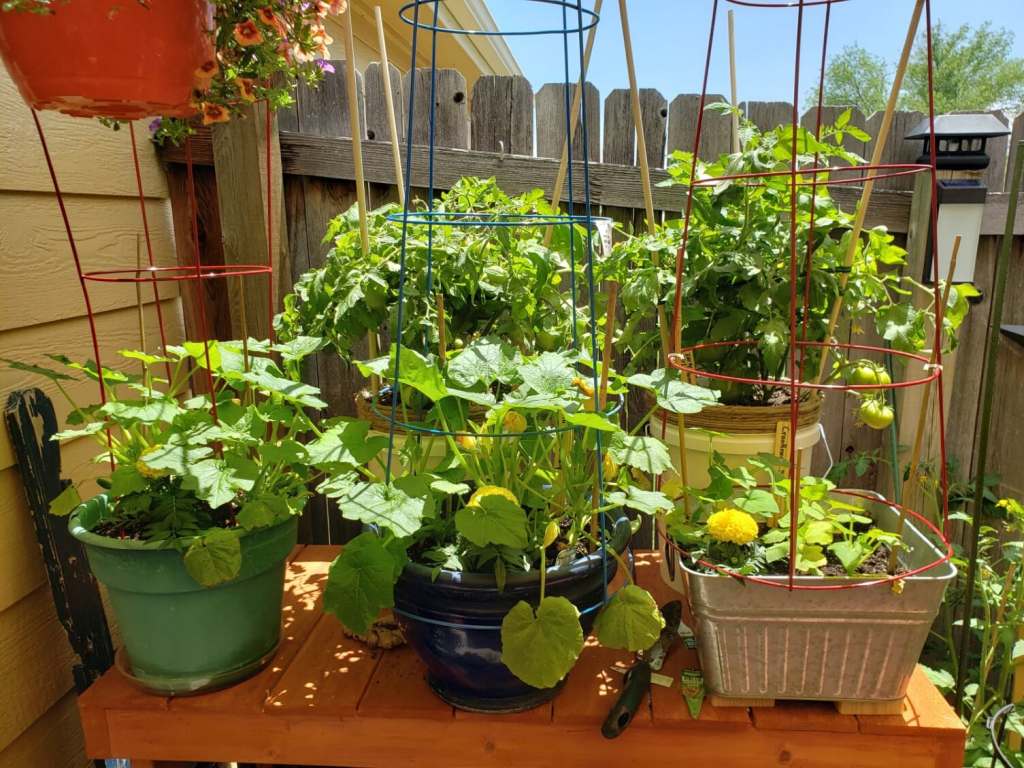
Zucchini, Tomatoes
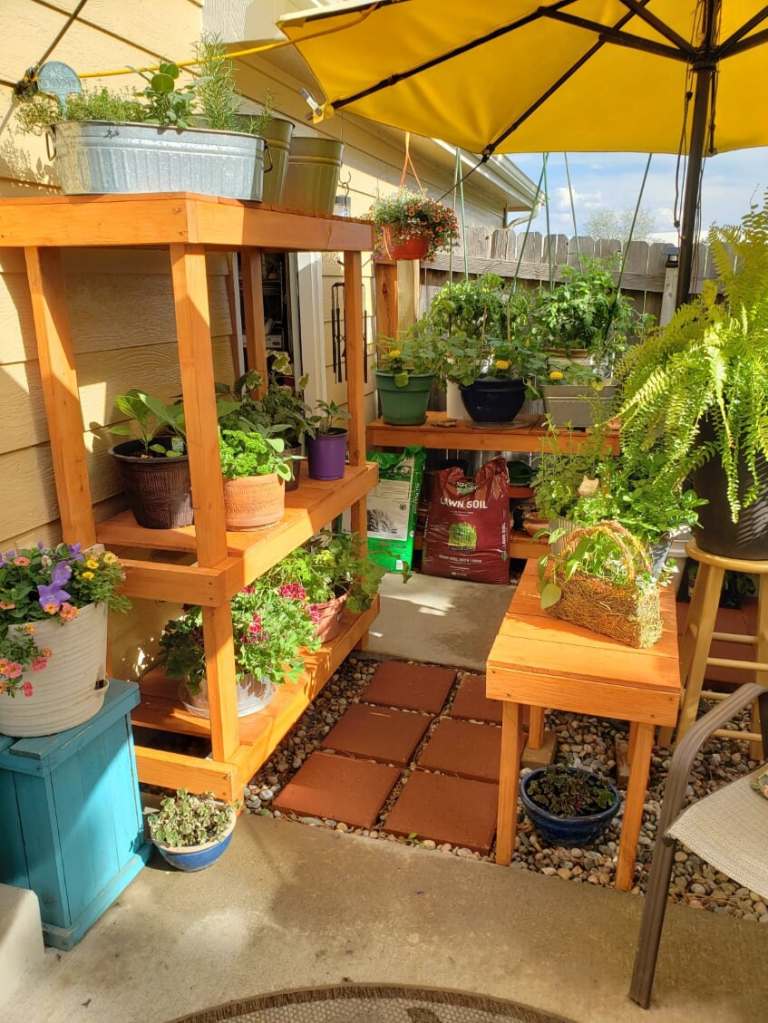
In order for me to grow all these plants in the small space Steve built me plant stands much like the ones they use at nurseries. They had to be large and heavy so the winds would not knock them over. (I was adding jute around the top of the buckets also till I ran out of jute.)
-
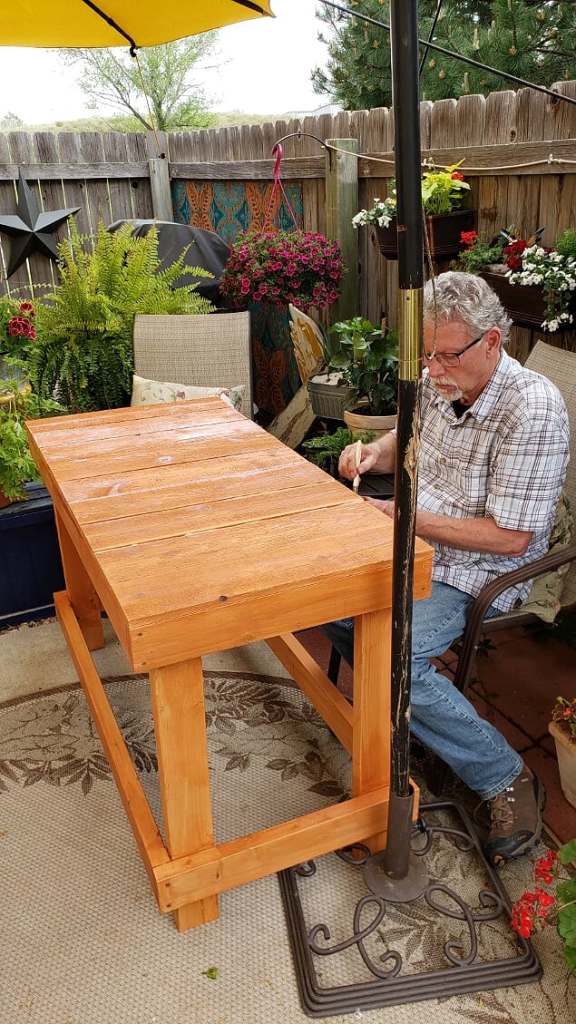
Steve assembling the table that he built for the patio -
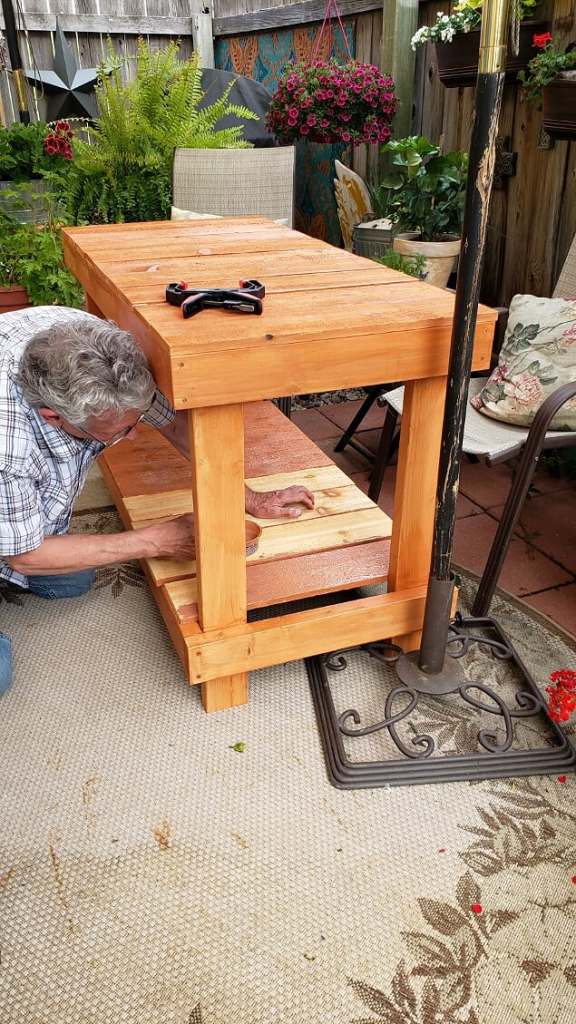
Assembling a second table -
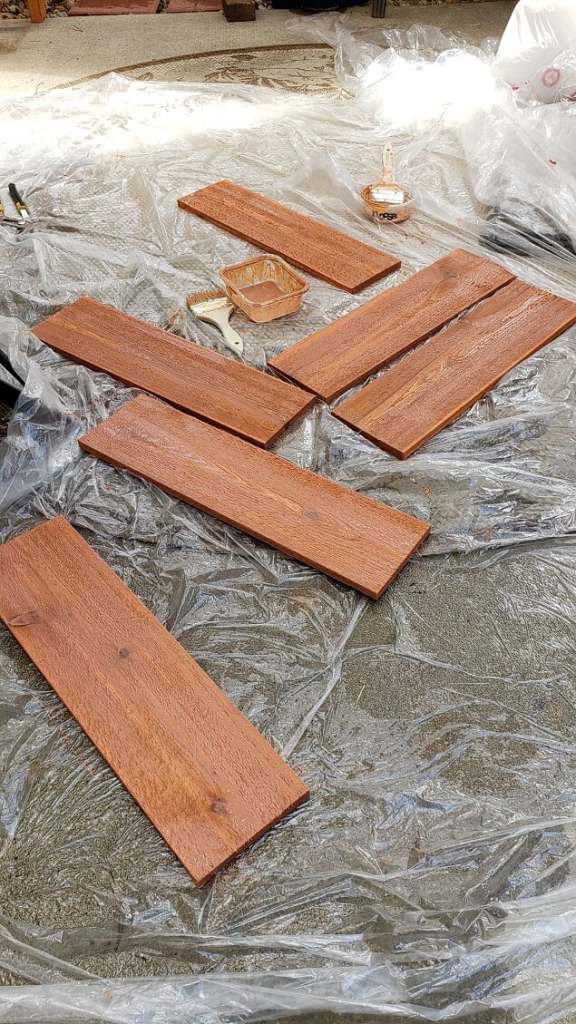
All the tables are waterproofed -
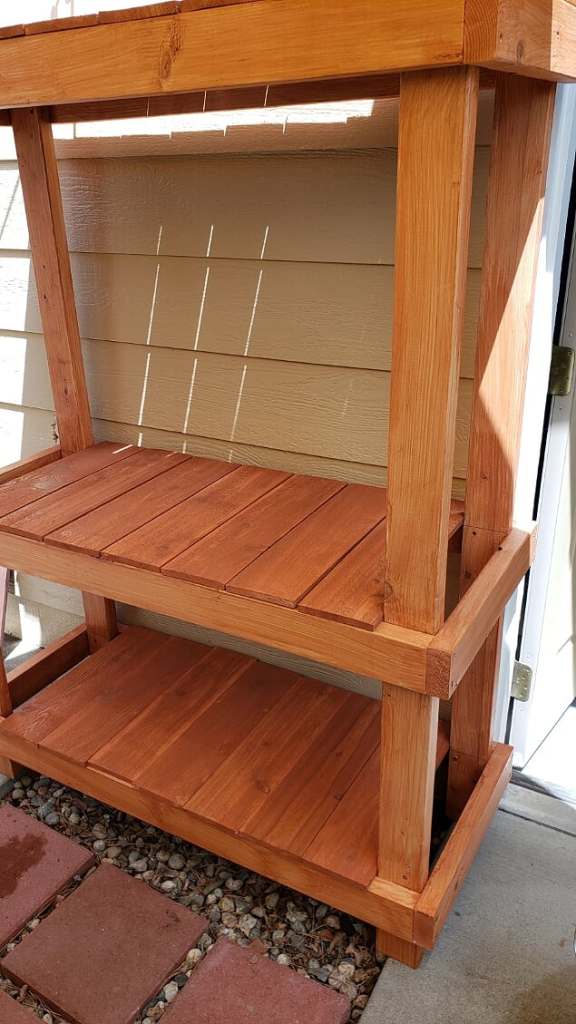
Tall table will also be a potting table soon -
It is nice and organized and sturdy -
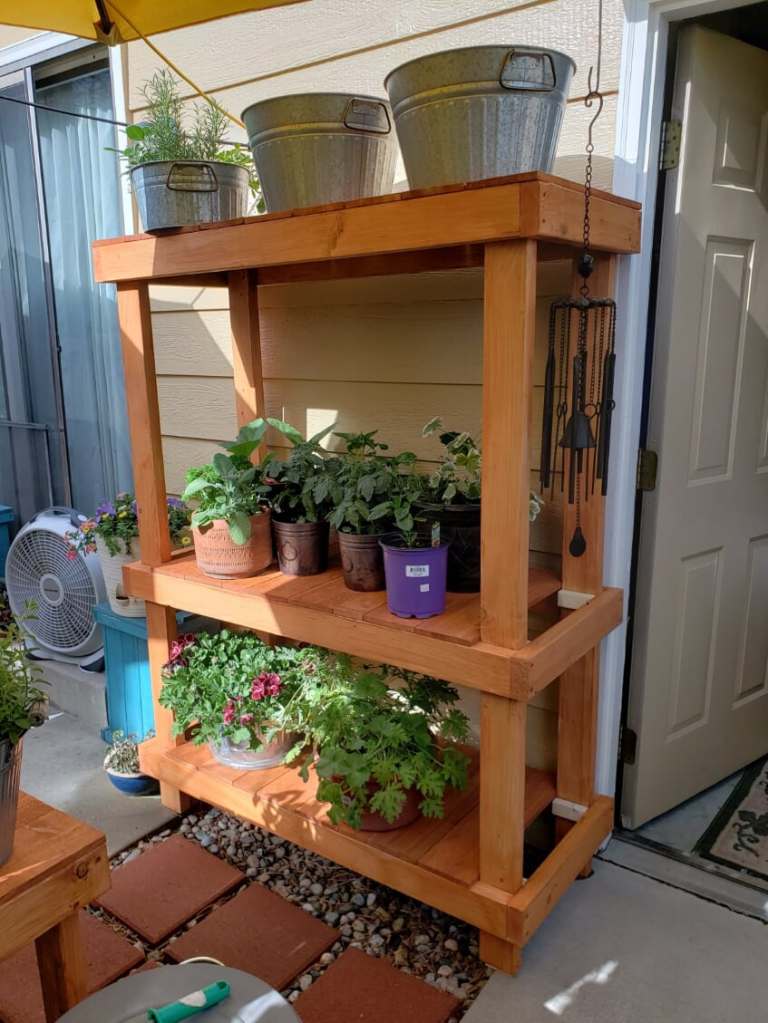
This unit holds a large amount of plants -
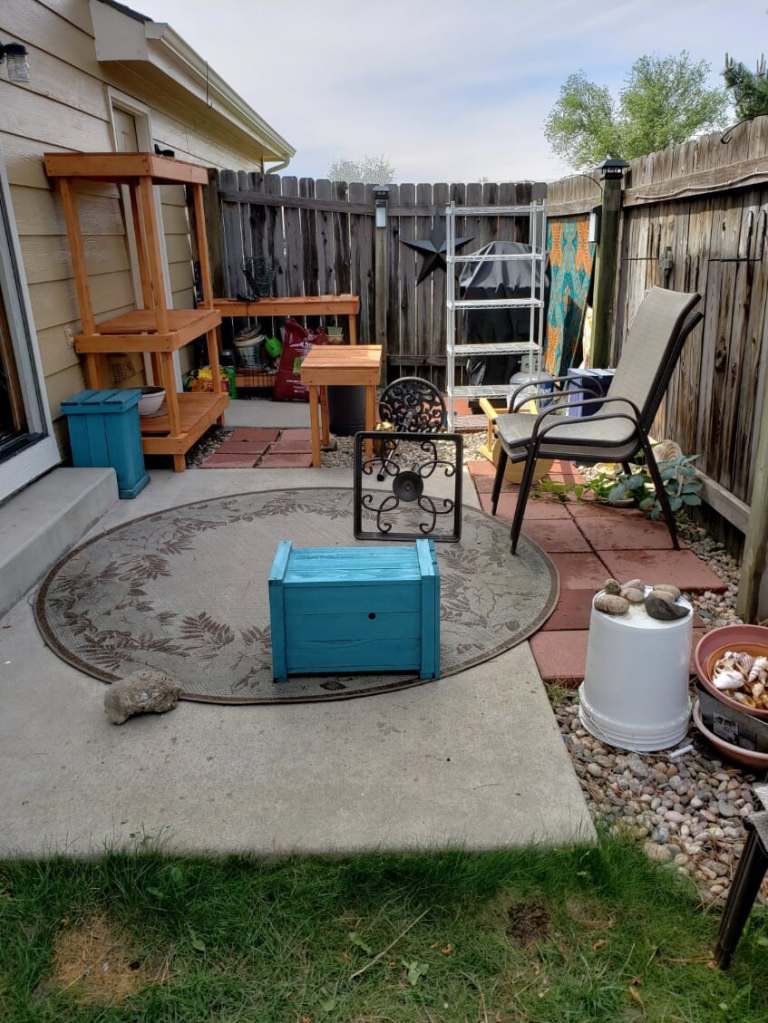
Before -
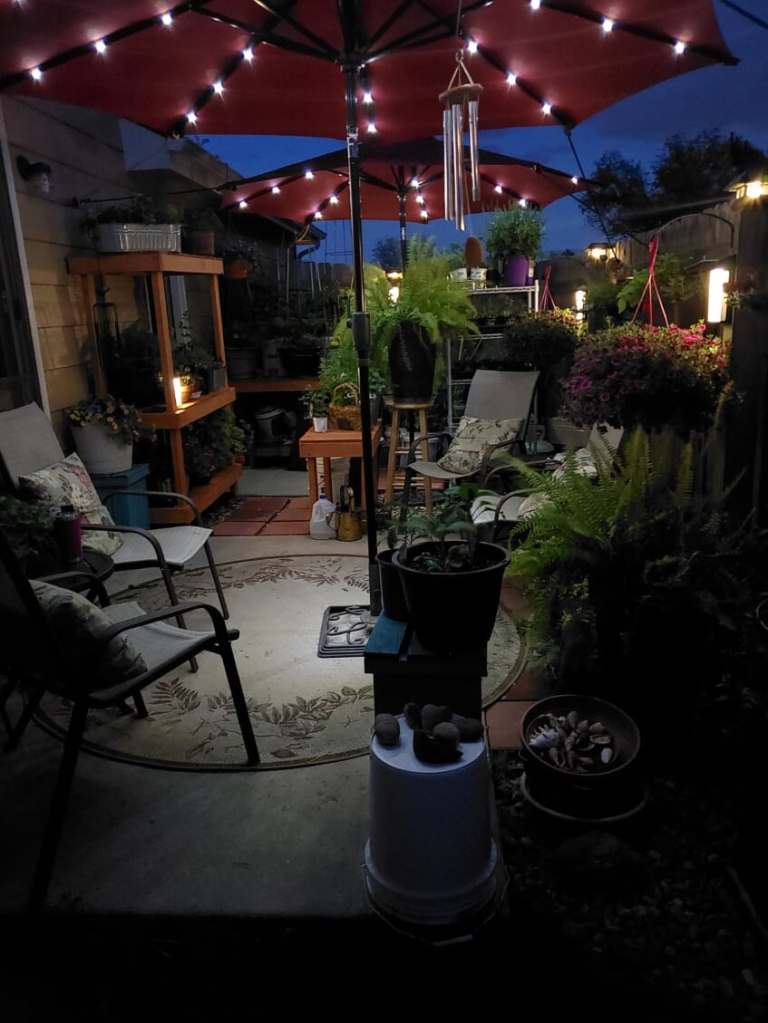
After at night -
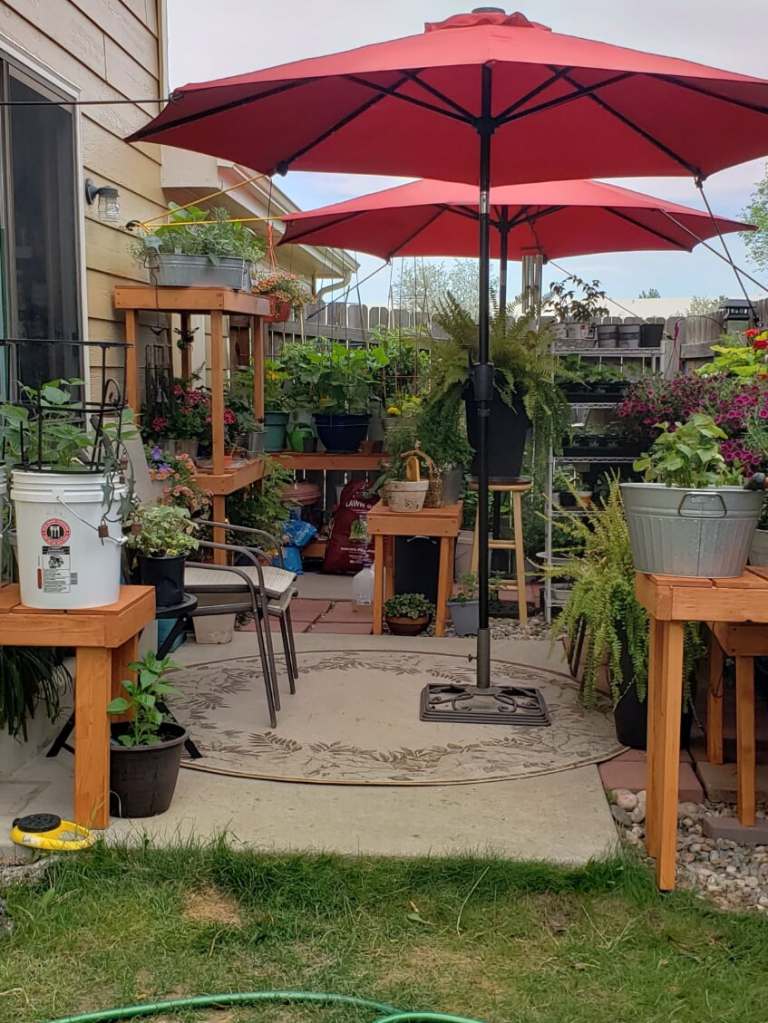
After during the day
We added solar lights on the fence and in the umbrellas. We had to replace the umbrellas this year due to a storm that broke the umbrella we had.

I would also like to discuss bees. I do not have a hive but I do have a bee hotel. The type of bee that lives in a bee hotel is a mason bee. They are fantastic at pollinating your garden. I suggest that you plant flowers all around your vegetables to help draw the bees in to pollinate. (hope you are not afraid of bees, or allergic).
-
Herbs, Flat Leafed Parsley, Italian Oregano, Sweet Marjoram, Sweet Mint -
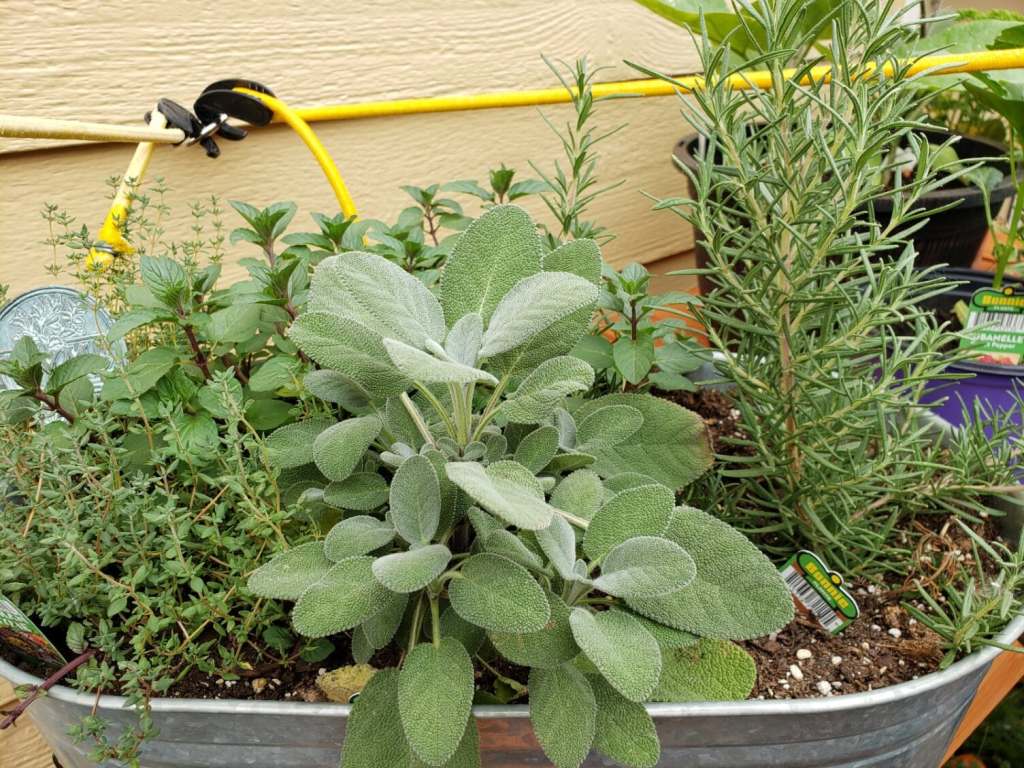
Herbs, Sage, Rosemary, German Thyme, Peppermint -
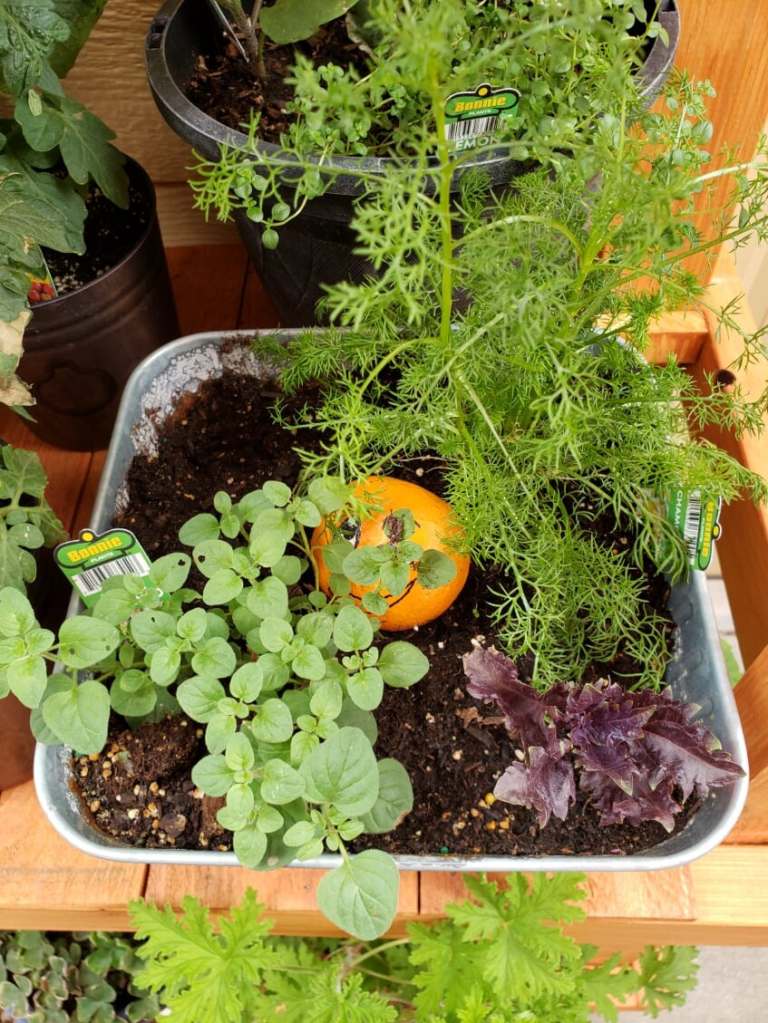
Herbs, Chamomile, Purple Basil , Greek Oregano -
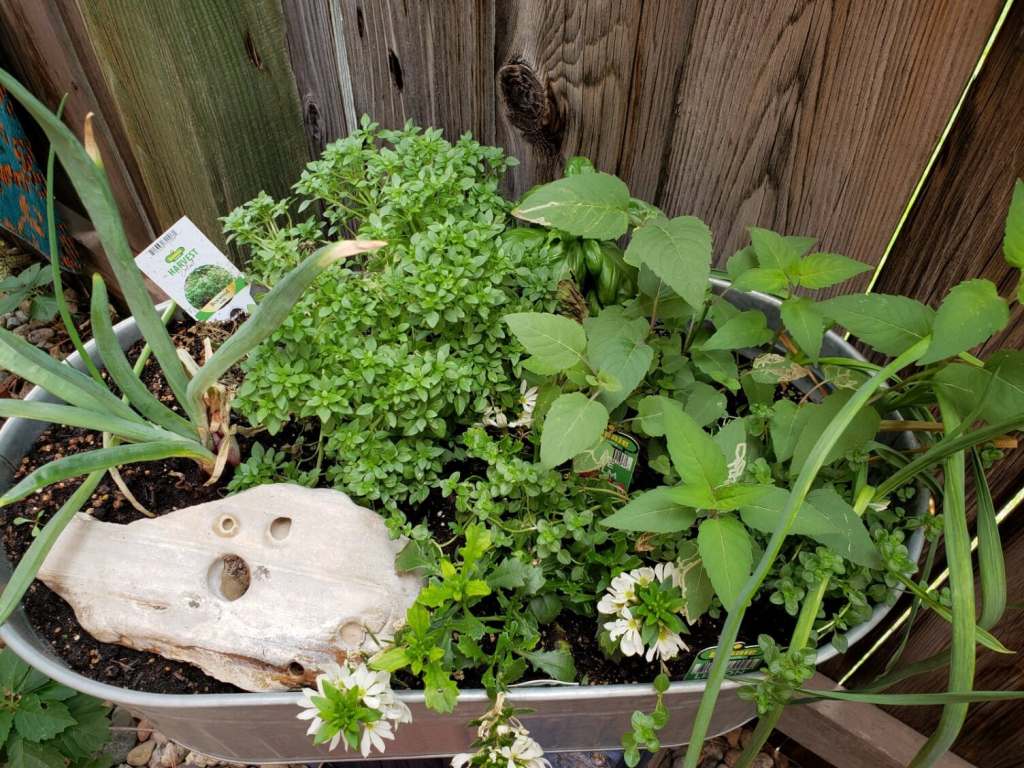
Red Onion, Green Onion, Mound Basil, Bee Balm, Lemon Thyme
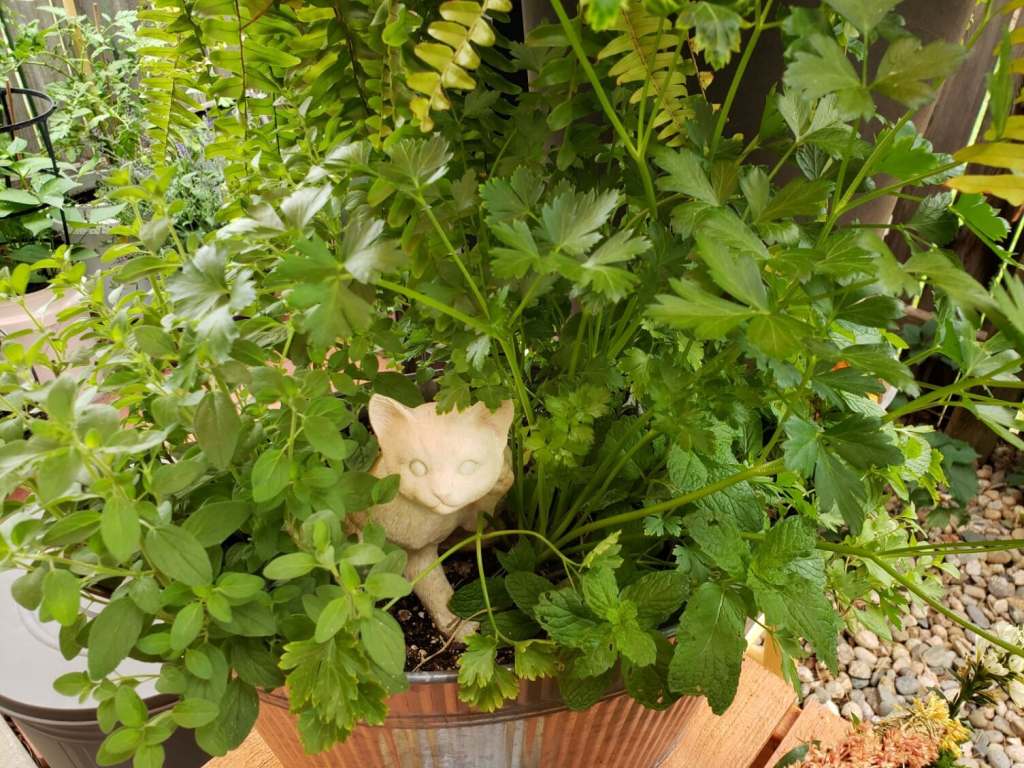
In my container garden, I am also growing a large assortment of herbs. I plan on drying the herbs and using them throughout the year for cooking, teas, and medicinal.
| Plants I Planted this year | ||
| PLANT | Variety | How many |
| Basil | sweet basil | 2 |
| Purple | 1 | |
| boxwood | 1 | |
| Mint | Sweet mint | 1 |
| Peppermint | 1 | |
| Chocolate mint | 1 | |
| Stevia | 1 | |
| Oregano | Italian | 1 |
| Greek | 1 | |
| Rosemary | 2 | |
| Sage | Garden | 2 |
| Tyme | German | 1 |
| Lemon | 2 | |
| Bee Balm | 1 | |
| Sweet Marjarom | 1 | |
| Parsley | flat | 1 |
| curley | 1 | |
| Tomato | Bush Early Girl | 6 |
| Early Girl | 2 | |
| Zucchini | Black Beauty | 10 |
| Crookneck | 2 | |
| Peppers | Purple Bell | 2 |
| Cubanelle | 1 | |
| Chamomile | 1 | |
| Eggplant | Black Beauty | 2 |
| Ichiban | 1 | |
| Green Beans | Garden Bean | 16 |
| Cucumber | Chompers hybrid | 20 |
-

Basil leave pulled off stems -
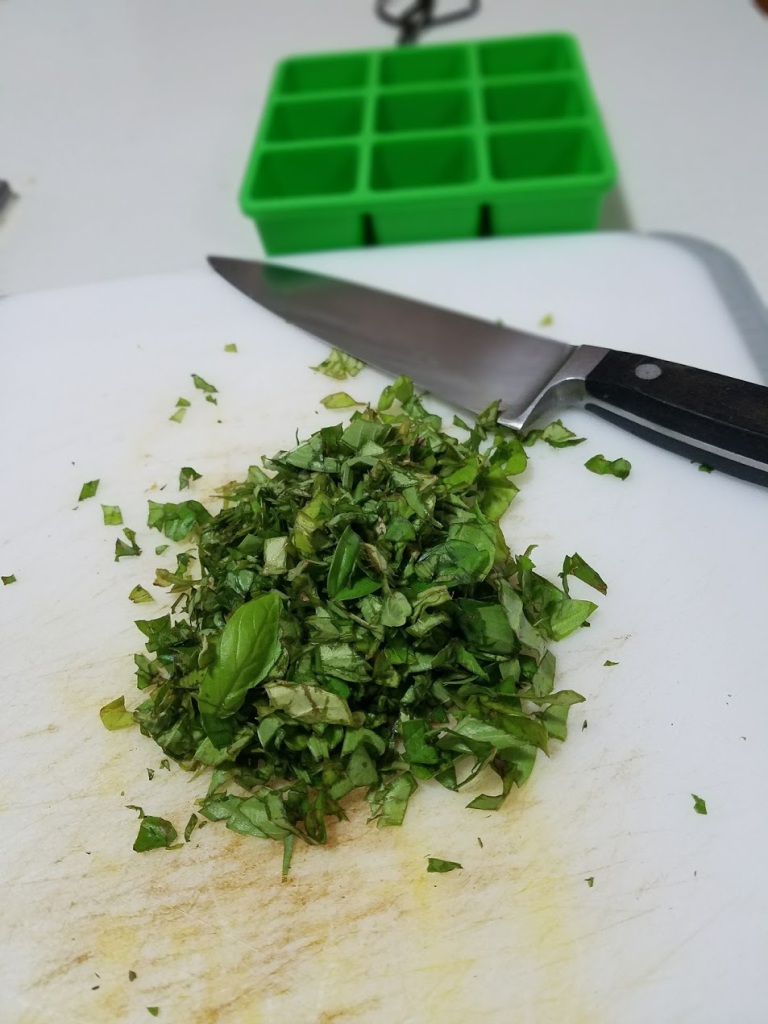
Diced up Basil leaves -
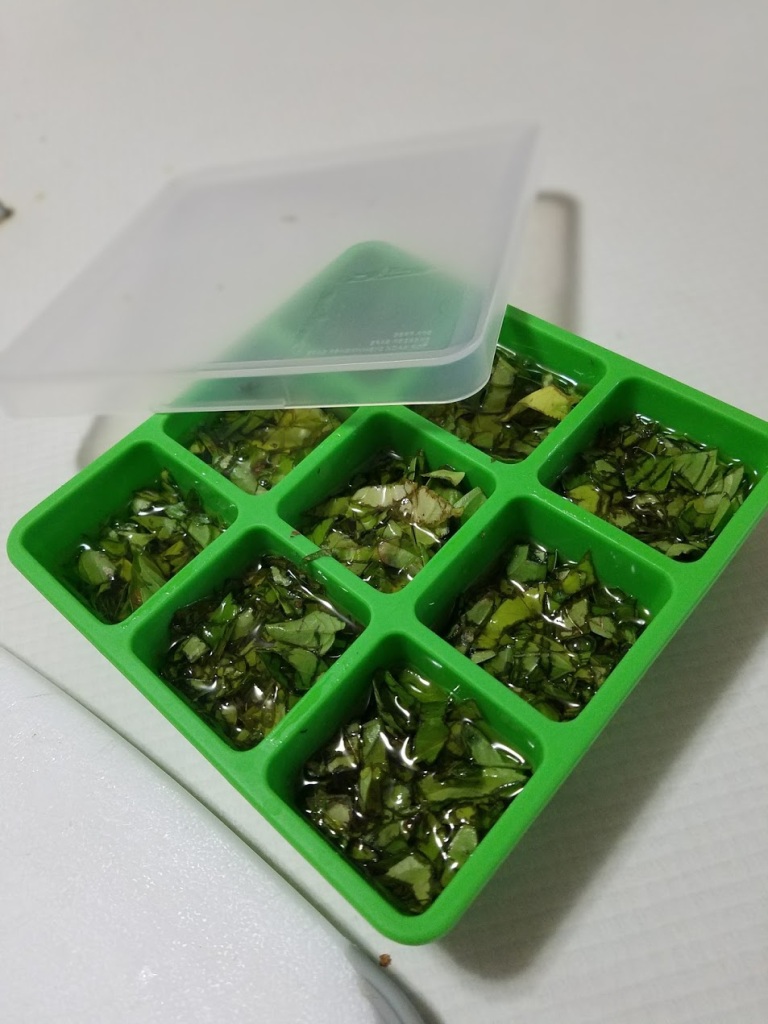
Basil leaves in Olive Oil -
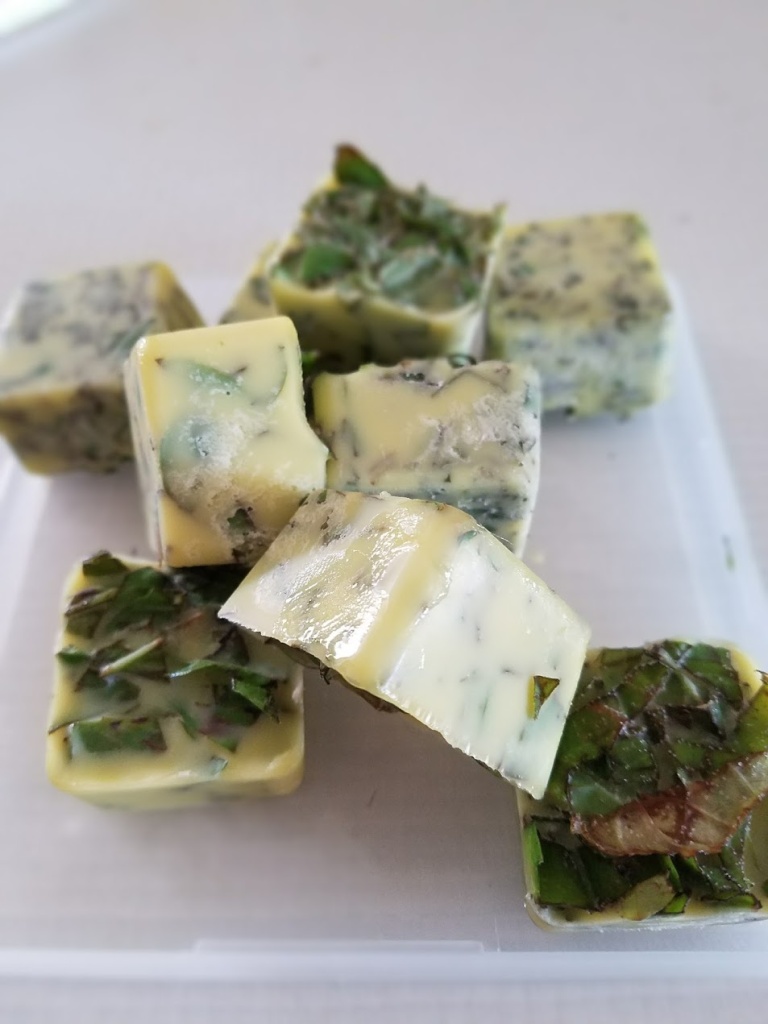
Basil and Olive Oil our of the freezer -

Basil cubes bagged and dated to put back in the freezer
You can Freeze Herbs for cooking here’s how.
Here is a list of some of the more popular herbs that are good frozen in olive oil.
- Thyme
- Oregano
- Peppermint
- Sage
- Rosemary
- Fennel
- Basil
You will need also
- Ice tray
- Plastic wrap
- Extra Virgin Olive Oil
Wash all the herbs. Chop the herbs up separately into small pieces and fill the ice cube tray with the herbs. Fill the ice cube tray with Extra Virgin Olive Oil and cover it with plastic, then freeze.
When the herbs are frozen place them in a zip lock bag or a plastic container if you have room in the freezer. Label the bag with what herb and what day you froze the herbs. Next time you want some fresh herbs you just take out a cube and drop it into your recipe. You can put the cubes in stews, purees, soups, or you can spread them on a slice of bread for your breakfast.
Olive Oil can be frozen. When you use it out of the freezer it must be that day you thawed it. If you do not it is no longer edible or even healthy.
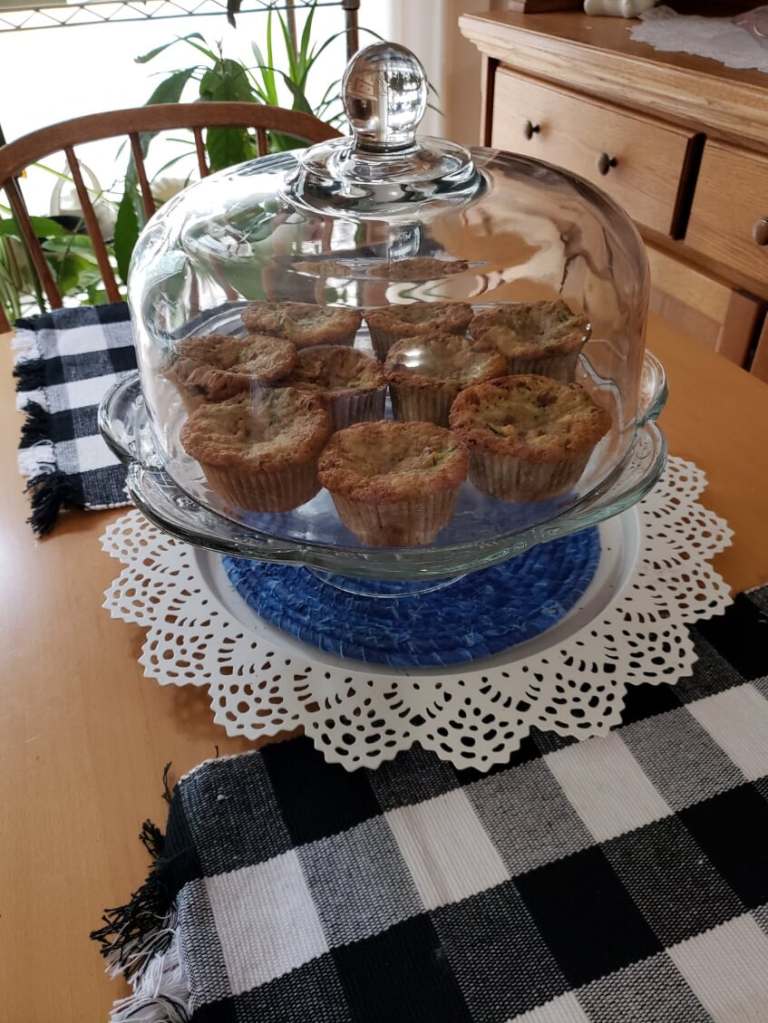
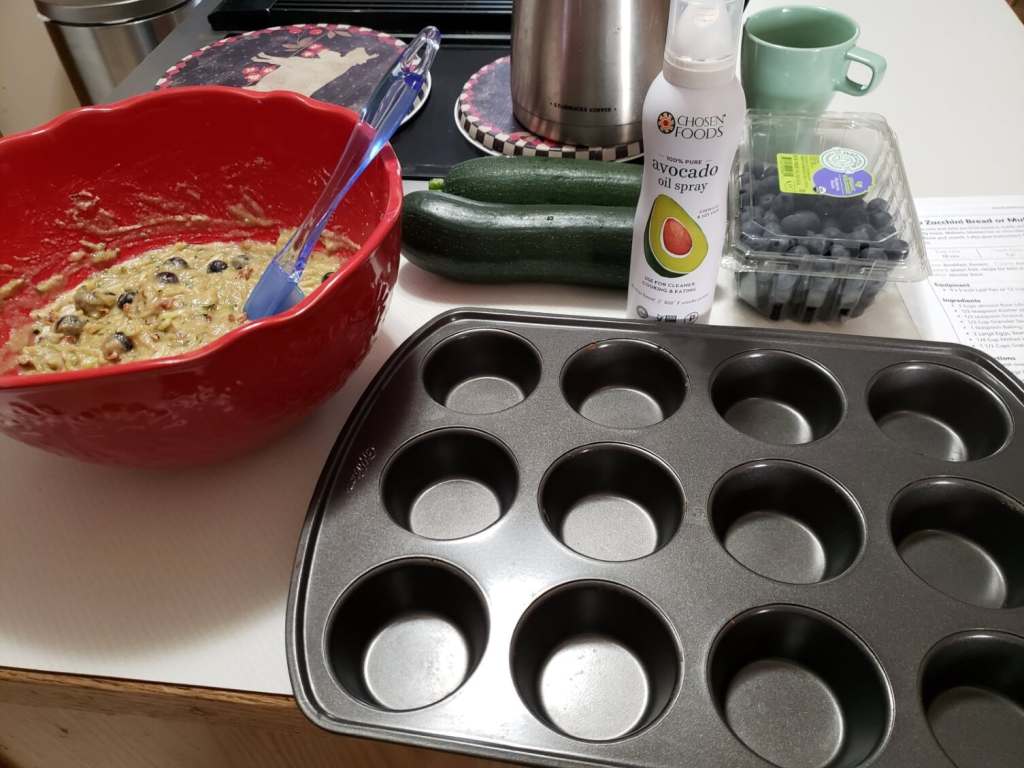
With all this gardening that I am doing, I am so encouraged to cook healthier food for myself and my family. I tried this recipe that I found at “ruled.me” . The one thing that I did not do was to drain the zucchini before baking. I do recommend this part of the process. I also had to make a few adjustments because of the altitude and my oven does not cook evenly. I prefer to make muffins rather than bread. I also tried fresh blueberries in the muffins. It was far to moist but still tasted great.
Keto Zucchini Bread & Muffins
- 3 large eggs
- ½ cup olive oil
- 1 teaspoon vanilla extract
- 2 1/2 cups almond flour
- 1 1/2 cups erythritol (I did not have this so used regular sugar)
- ½ teaspoon salt
- 1 1/2 teaspoons baking powder
- ½ teaspoon nutmeg
- 1 teaspoon ground cinnamon
- ¼ teaspoon ground ginger (I did not have this either so I just did not use it)
- 1 cup grated zucchini
- ½ cup chopped walnuts ( I used pecans instead)

- Preheat oven to 350°F. Whisk together the eggs, oil, and vanilla extract. Set to the side.
- In another bowl, mix together the almond flour, erythritol, salt, baking powder, nutmeg, cinnamon, and ginger. Set to the side.
- Using a cheesecloth or paper towel, take the zucchini and squeeze out the excess water. (This is an important step. It cuts down on the moisture in the muffins)
- Then, whisk the zucchini into the bowl with the eggs.
- Slowly add the dry ingredients into the egg mixture using a hand mixer until fully blended.
- Lightly spray a 9×5 loaf pan, and spoon in the zucchini bread mixture. (I prefer muffins and do recommend that you use the paper cups for muffins)
- Then, spoon in the chopped walnuts on top of the zucchini bread. Press walnuts into the batter using a spatula.
- Bake for 60-70 minutes at 350°F or until the walnuts on top look browned. (I made muffins and the recommended was 20 minutes. I had to bake mine closer to 30.)
I loved the muffins and want to make up batches of them to freeze to have on hand.
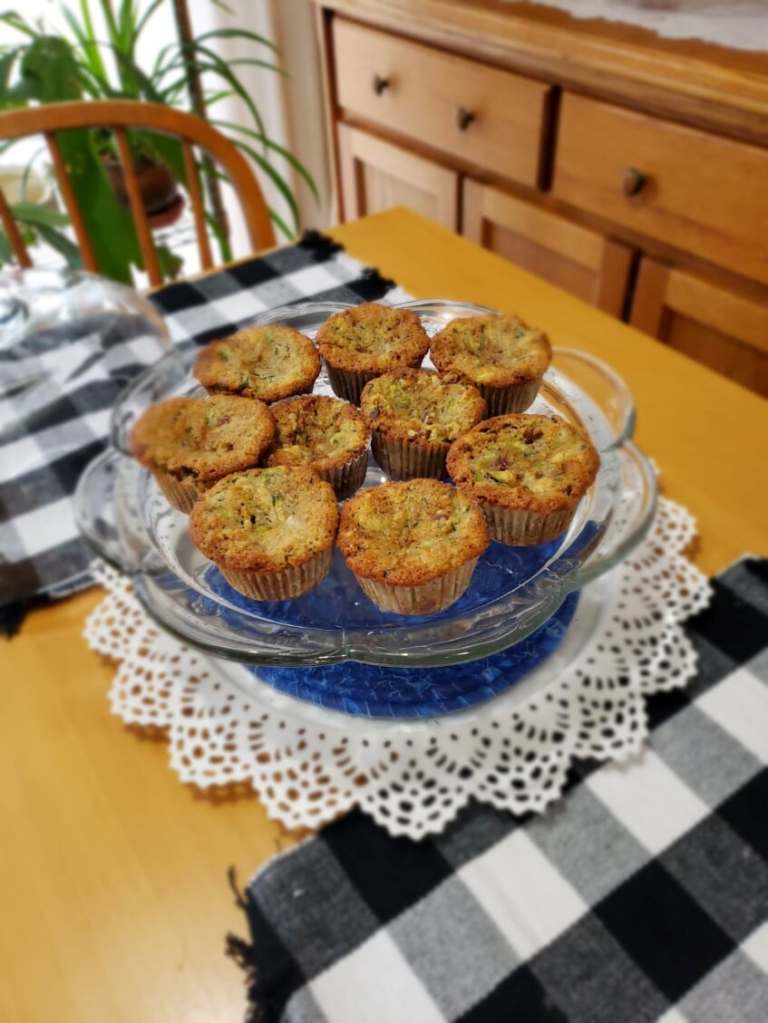
Hope you enjoy all the information today. I wish you success on your garden and baking!
Be Safe, Be Healthy
Roxanne