

I never planned to do half the things I learned how to do. Most of what I learned how to do was out of necessity and lack of funds. You can get really creative when you have no funds to make your home look nice. When I first got married I did not have much in the way of furniture and belongings and my husband did not make tons of money. We were in the military and had to move often. But I wanted to make my house look and feel as comfortable as possible.
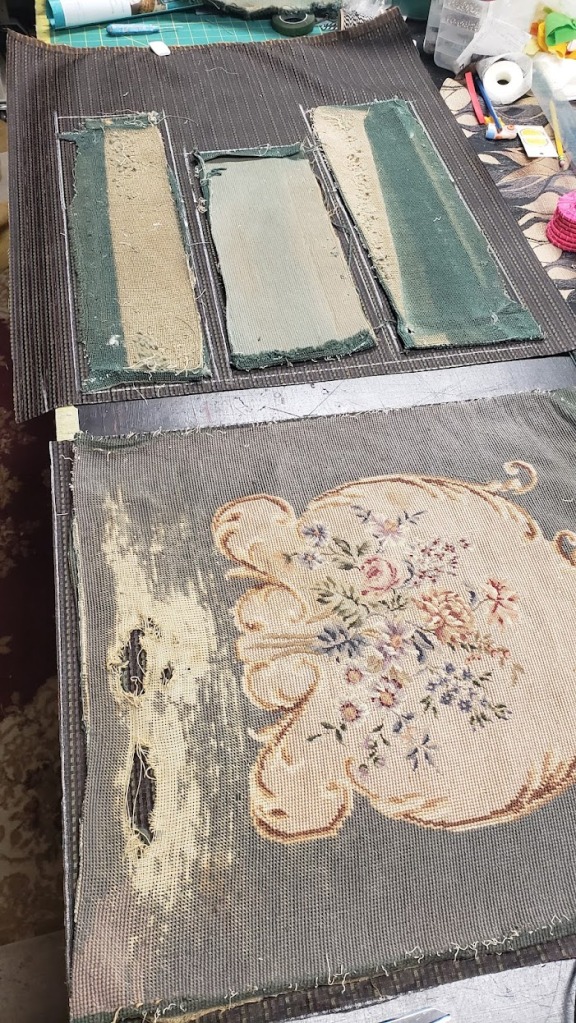
When I took on this job of making a cover for the dining room chairs and the rocking chair, both turned out to be far more work than I originally thought. As it turns out the rocking chair cover was actually a reupholster job. When I started to take this chair cushion apart there was three layers to it. The top layer was a beautiful needlepoint piece. The next layer was batting, followed by a layer of burlap, and another layer of batting, again followed by more burlap. There were a large amount of tacks that had to be pulled out, and they were not easy to take out either.
-

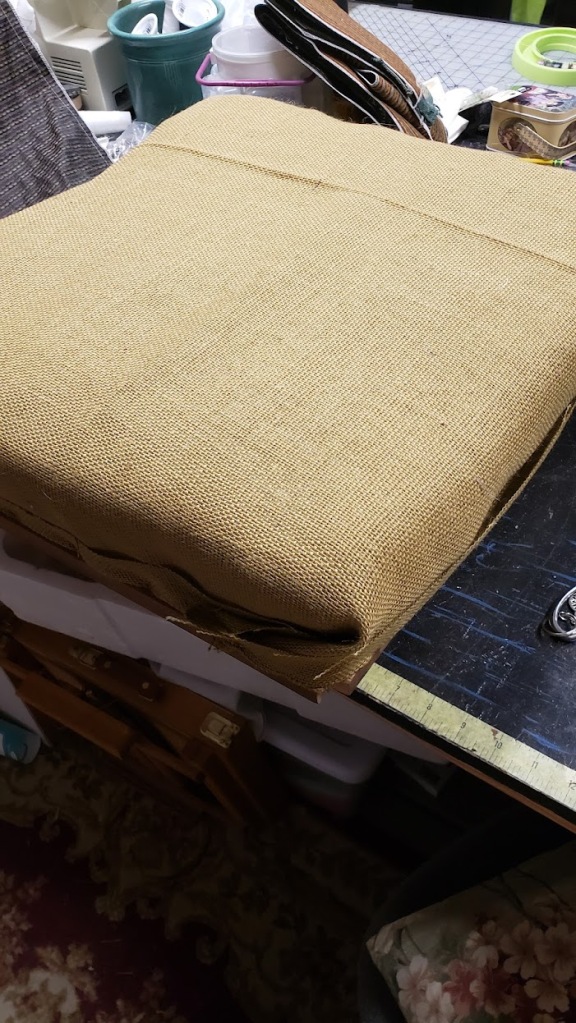
Bottom of the chair -

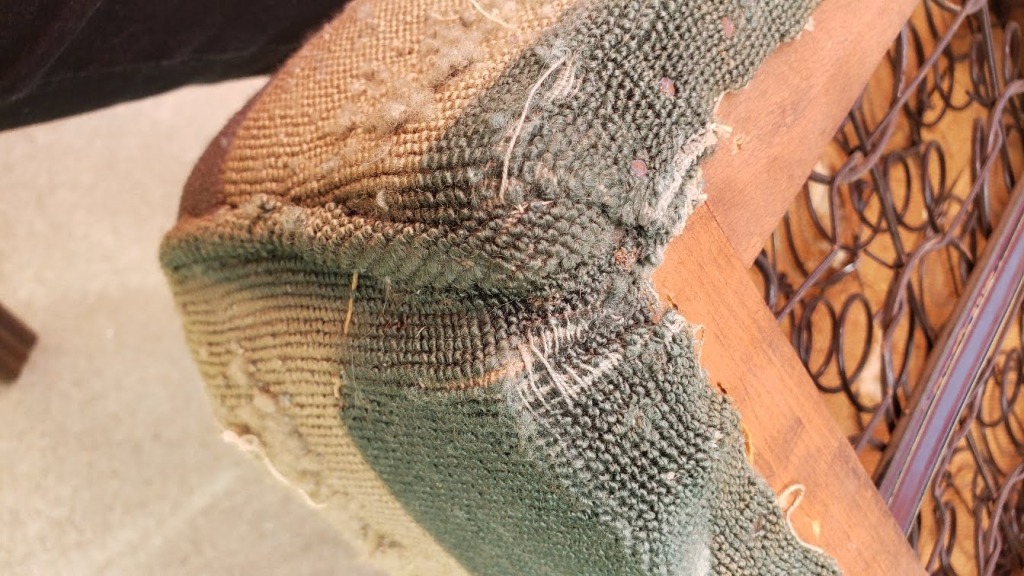
Needlepoint -

Tacks -

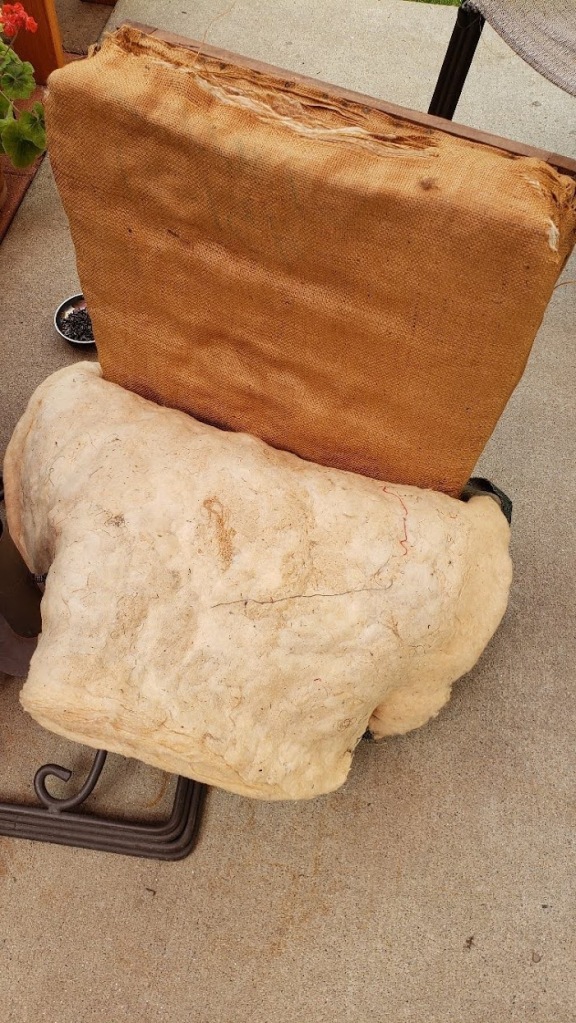
Burlap and batting with frame -
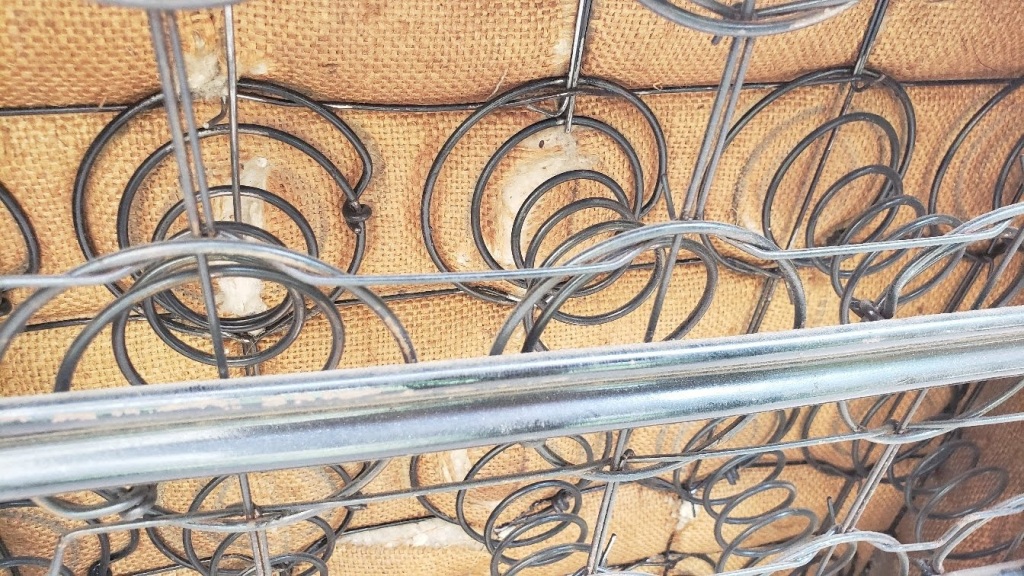
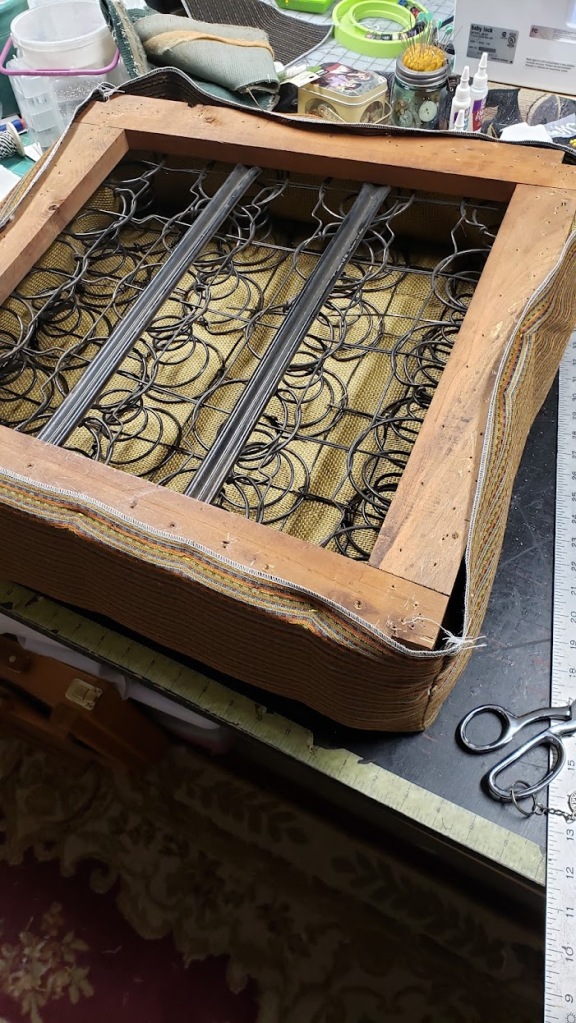
Springs -

Nothing left but the frame and springs

Once I got the whole chair torn apart it was decided to replace the two burlap layers. As you can see they were starting to shred and disintegrate.
-
First layer of batting and burlap coming off -

You can see the wear on the burlap here -
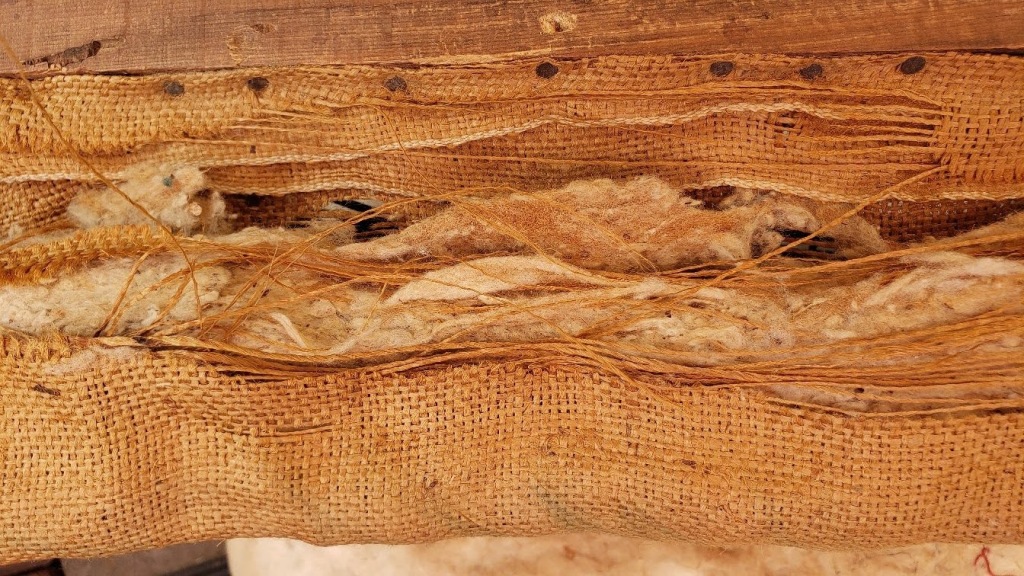
The burlap is starting to disintegrate


In the process of taking off the batting and the burlap it created such fabric dust. I am still cleaning up the dust. You can see it on the white batting.
-
Close up of what I had to take off the wood frame -
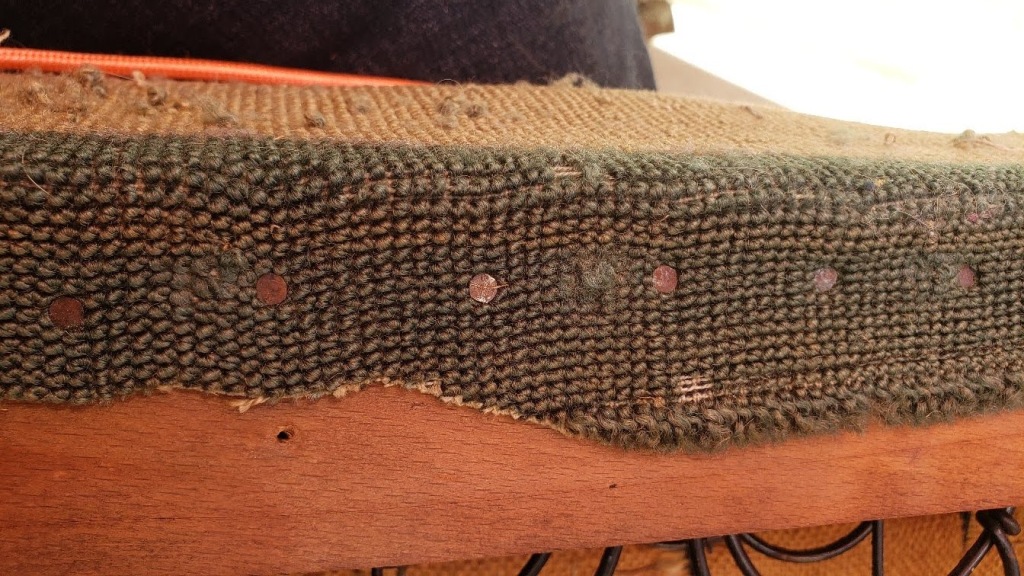
This is just one layer of tacks.


Each layer of fabric and burlap was full of tacks that needed to be pulled.

-
Second layer of burlap -
Burlap stapled to the wood frame -
Used the original fabric to cut out the new fabric cover


As I assembled the chair back together, it was a layer of burlap, a layer of batting, a second layer of batting, and a second layer of burlap, then the fabric. Each layer of burlap had to be stapled as I went along.
I seam ripped apart the original chair cover and used that as a pattern to cut out the new fabric. Two of the corners of the chair were not square, and I had to make allowances for that.

I added cording around the top layer of the rocking chair cover. Trying to replicate as close as I could to how the original chair was put together. I really like the fact that I added the cording. It looks finished with it.
Reassembling the chair with the new fabric went together quickly. In the process of putting the chair back together I used staples rather than the tacks. I chose to do this because the tacks had caused rather large holes in the old wood.
If you decide to attempt a chair of your own, I would suggest you take pictures each step of the disassembly process so you can see how to put it back together. I would love to see and hear from you if you do attempt one of your own. I know you can do it.
Till next time,
Roxanne