Christmas is one of my favorite times of the year. There is no grander feeling of love and sharing than at this time. I love decorating for holidays but, Christmas is one of the top favorites. I collect ideas all year and spend time looking for supplies to make all the ideas I have been planning. To get everything done in time, I start playing Christmas music right after Halloween. I also love baking all through November and December. To decorate the whole house with as many beautiful handmade decorations by December first is my goal. I love to see all the lights and the smells of pine trees. It is exciting to wrap each gift that I put under the tree. I think that how you present your gift is just as essential as the gift that you give.
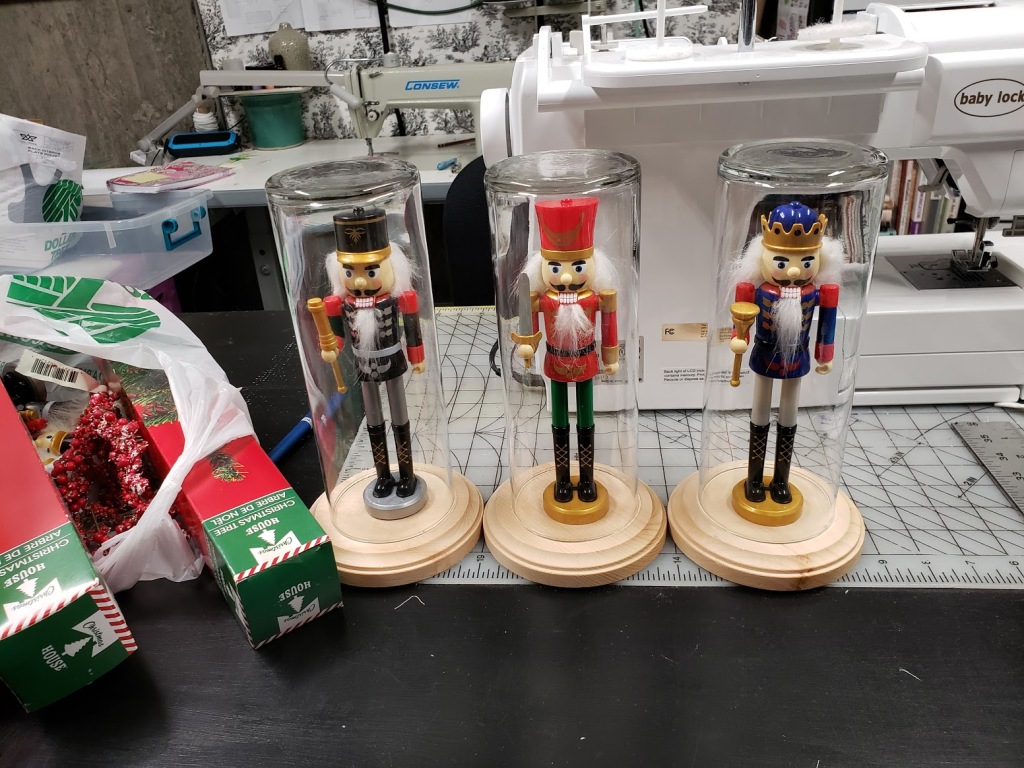
Sitting in my living room, I feel such warmth and love. Another word for it is hygge. The only thing missing is a fireplace. So I may be building one. I have started making sketches to create one that is easy to construct and easy to take down when we move someday. Let us get started on some of the decorations for this year. The first thing I did was nutcrackers in jars.
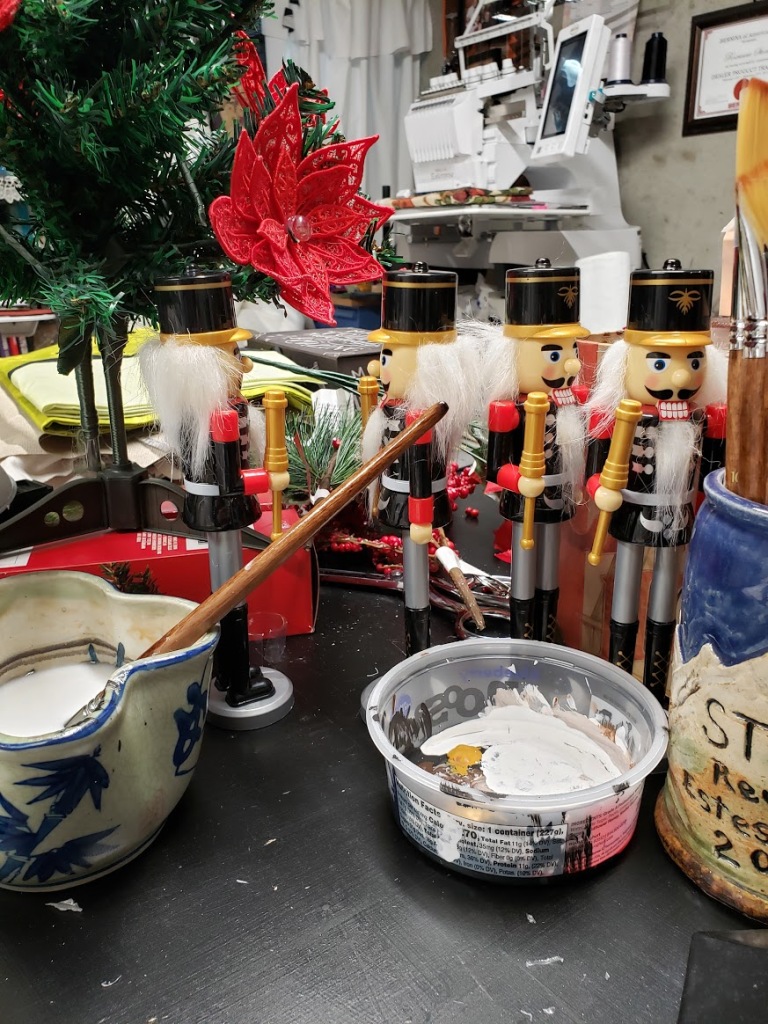
Please excuse the mess in the studio. No matter how hard I try I cannot keep it clean. I have way to many projects all going on at the same time.
The nutcrackers and jars, which are candle holders, were found at the Dollar Tree. The candlestick holder I found at Goodwill. The wood base circle to glue the nutcrackers to, I found at Joann’s. I used three nutcrackers, three candle holders, and two candlestick holders.
I chose not to paint my nutcrackers or paint your nutcrackers’ colors to match the colors you are decorating. Glue the nutcrackers to the center of the wood pieces. You can paint the wood circle. I used a glue gun to glue everything together. For strength, you can also use E6000 when you attach the glass to the wood base and when you glue the candlestick holders to the bottom of the wood as well.

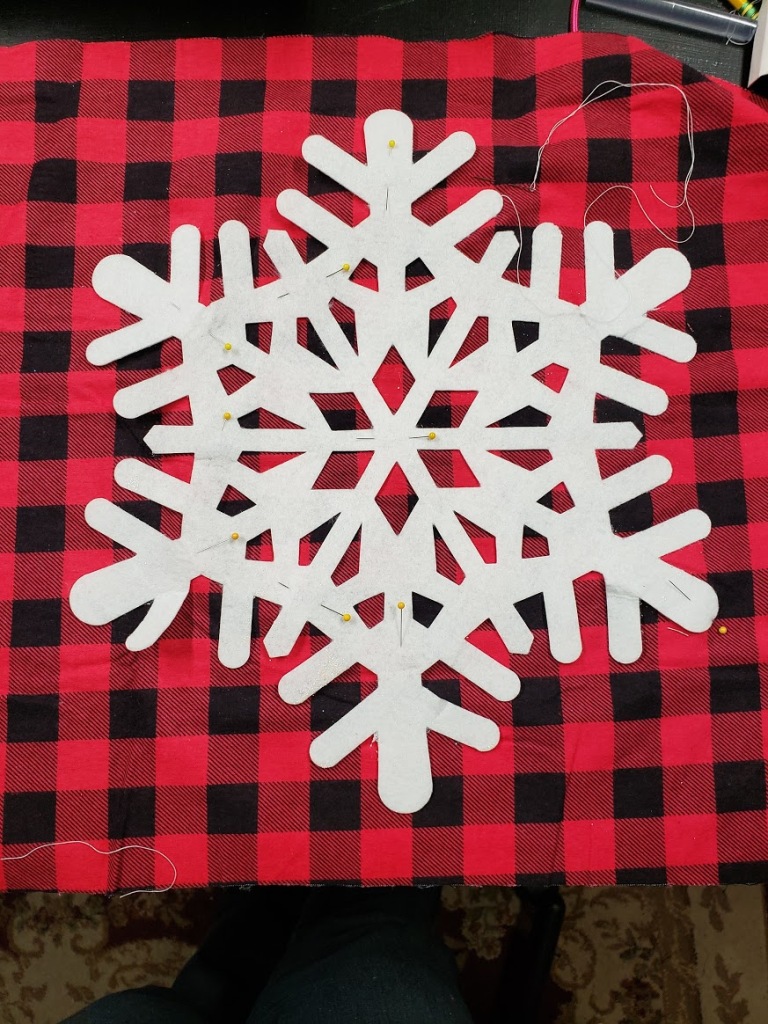
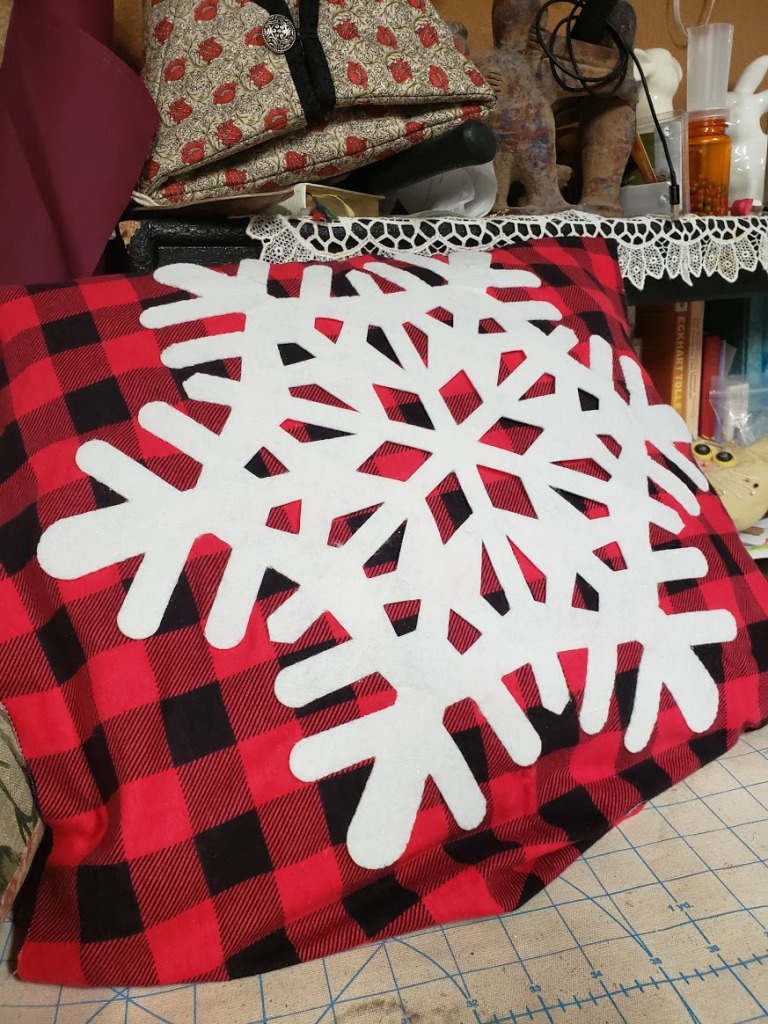
My next project is pillow covers. For this project I bought the fabric at Joann’s. I bought the snowflakes at the Dollar Tree. I am covering pillows that I already have. You can put a zipper in the back. If you do not have a zipper you can do and envelope style cover. Or you can buy pillow forms. You will cut out your fabric to the size of your pillow. My pillows are 14″ X 14″. The size of the snowflake also will dictate the size of your pillow also.
I hand stitched the snowflake on to the fabric because I did not want to see the stitch lines. You can sew it down on your sewing machine and the stitch lines will give it a completely different look.
With all the baking that will be done I made one apron and will be making the second one.
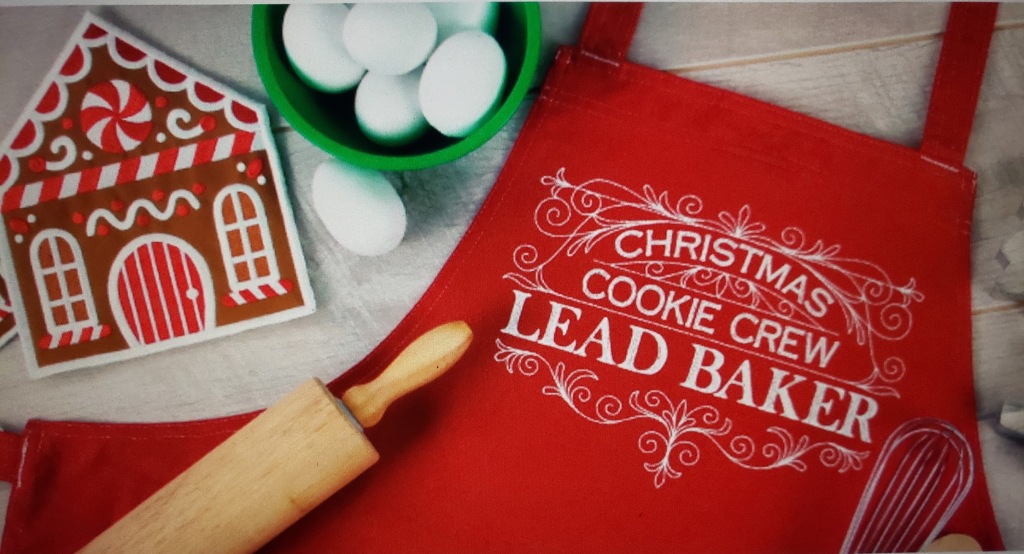
For this project I bought the apron at Joann’s and the embroidery pattern is from Embroidery Library. (Lead Baker M32650, Cookie Taster M32646)I used medium weight stabilizer on this and think that the next apron I am only going to use water soluble stabilizer. To get the pattern centered and where I wanted it on the apron I printed out a paper version to use for placement. I chalk mark my lines so I can double check with the camera on the embroidery machine.
I also do not like how low it is on the apron and will be making more aprons. In order to get it where I want it I will have to resize the pattern to move it up. Here are the two patterns.
Now I like to include some food ideas with my crafting so here is one for you to try. Gluten Free Pistachio Cranberry Biscotti.

Gluten-Free Biscotti
This recipe makes a lot, so you might want to cut it in half. Add dried fruit and chocolate chips to suit or dip in melted chocolate when cool.
Prep:
25 mins
Cook:
30 mins
Additional:
2 mins
Total:
57 mins
Servings:
48
Yield:
48 servings
Ingredients
Ingredient Checklist
- 3 eggs
- 1 cup white sugar
- ¾ cup vegetable oil
- 2 teaspoons anise seed
- 1 ½ cups gluten-free all-purpose flour mix (such as Bob’s Red Mill®)
- 1 ½ cups rice-based flour mix with xanthan gum
- 2 teaspoons baking soda
- 1 teaspoon xanthan gum
- ½ teaspoon salt
- 1 cup chopped almonds
Directions
Instructions Checklist
- Step 1
Preheat oven to 375 degrees F (190 degrees C). Line a baking sheet with parchment paper or lightly grease.
- Step 2
Beat eggs together in a bowl until thick and lemon-colored. Gradually add sugar to eggs while continually beating. Pour oil into egg-sugar mixture and beat until smooth. Mix gluten-free all-purpose flour mix, rice-based flour mix, baking soda, and xanthan gum together in a separate bowl; gradually stir into egg-sugar mixture until dough is well-mixed and sticky. Fold almonds into the dough.
- Step 3
Turn dough onto the prepared baking sheet and form into 2 loaves, 1/2-inch thick and 2 1/2 inches wide.
- Step 4
Bake in the preheated oven for 20 minutes. Cool loaves on the baking sheet for 2 minutes; slice into 1/2-inch slices. Lay slices, cut-side down, on baking sheet.
- Step 5
Bake in the oven until golden brown, 10 to 15 minutes. Transfer biscotti to a wire rack to cool completely.
Cook’s Notes:
I use half Bob’s Red Mill(R) and another rice-based flour mix. Bob’s Red Mill(R) is a bean-based flour and I like the texture it gives the biscotti. If your flour mix already has xanthan gum added, you can omit. It needs to have a total of 2 teaspoons xanthan gum per 3 cups of flour. I add 1 teaspoon because my rice mix contains xanthan gum, but the Bob’s Red Mill(R) doesn’t.
Tips
Vanilla extract or almond extract can be used in place of the anise seed, if desired.
Topping (I added this separate from the recipe for the biscotti)
I used White Chocolate on this one. Next batch will use carob.
- Melt the chocolate
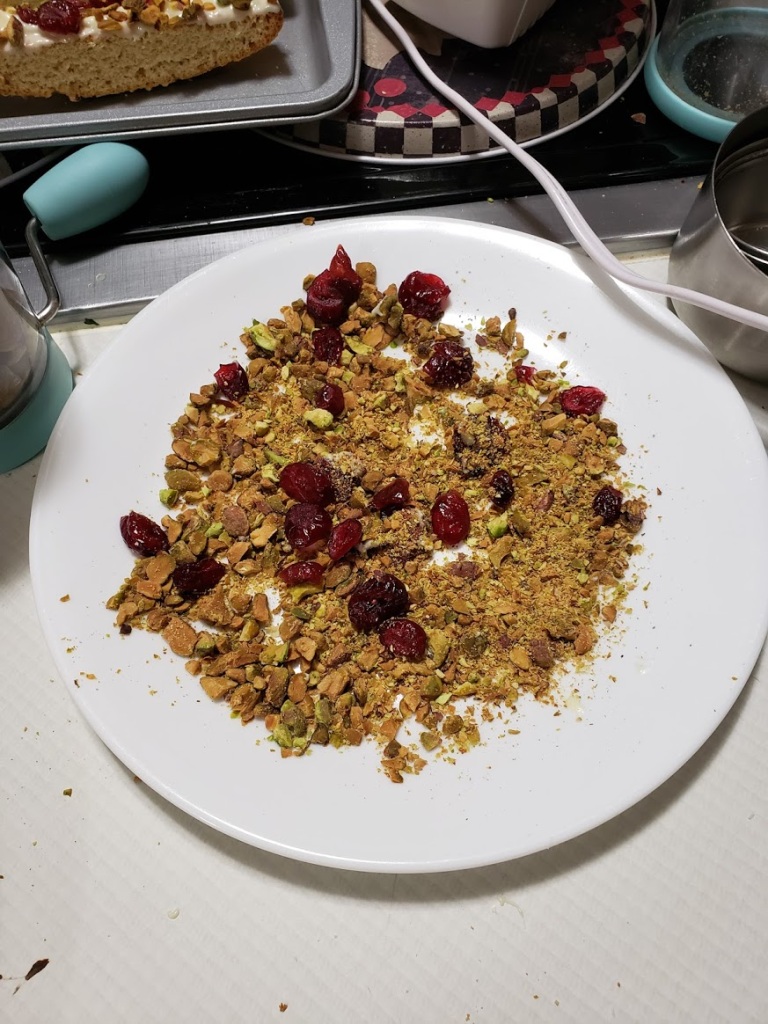
- Chopped the pistachio nuts, not to fine you want them a bit chunky
- Dried cranberry
Pour the melted chocolate on a plate. On a separate plate put the chopped pistachio nuts and dried cranberries. Put the flat side of the biscotti in the melted chocolate and then in the nuts and cranberries. Once you have a tray full put them in the freezer for about 10 minutes.
Storage
You can store these in an airtight container for 3-4 days. If you are making them ahead of time you can store them in an airtight container in the freezer for 2 months.
Nutrition Facts (for the biscotti)
Per Serving:
92 calories; protein 1.7g 3% DV; carbohydrates 11g 4% DV; fat 5g 8% DV; cholesterol 11.6mg 4% DV; sodium 83.5mg 3% DV.
© Copyright 2020 allrecipes.com. All rights reserved
I hope to be adding videos soon of projects. Have a great day, Be Safe, Be Healthy!
Have fun decorating!
Roxanne


